
Proper maintenance of your hiking poles is essential for safety and durability. This guide covers cleaning, inspecting, repairing, and storing your poles to keep them in top shape for every adventure. Whether you’re a beginner or experienced hiker, these simple tips will help your poles last for years to come.
Key Takeaways
- Regular cleaning: Keep your hiking poles free of dirt and debris to prevent damage and ensure smooth operation.
- Inspection is key: Regularly check for cracks, loose parts, and wear to avoid failures on the trail.
- Lubricate moving parts: Apply appropriate lubricants to joints and locks to maintain flexibility and safety.
- Replace worn components: Swap out worn or damaged tips, baskets, and grips for optimal performance.
- Proper storage: Store your poles in a dry, cool place to prevent rust and material deterioration.
- Follow manufacturer guidelines: Always refer to your specific pole’s manual for maintenance tips and recommended products.
Quick Answers to Common Questions
Tip/Question?
How often should I clean my hiking poles? Regular cleaning after each trip or every few uses helps prevent dirt buildup and rust.
Check the latest prices and available rooms before they sell out.
Tip/Question?
What lubricant is best for hiking poles? Silicone spray or gear-specific lubricants work well for maintaining smooth locks and joints.
Tip/Question?
How can I tell if my tips need replacing? Worn tips are often rounded, cracked, or missing altogether. Replace them to maintain traction.
Tip/Question?
Is it okay to store my poles extended? It’s better to collapse telescopic poles to prevent unnecessary stress and deformation.
Tip/Question?
What should I do if my lock mechanism won’t engage? Try cleaning and lubricating first. If it still doesn’t work, consider replacements to ensure safety.
Introduction
Hiking poles are invaluable companions on rugged trails, providing stability and reducing strain. However, like any gear, they require regular maintenance to stay in optimal condition. Proper upkeep not only extends the lifespan of your poles but also ensures safety during your adventures. In this comprehensive guide, you’ll learn how to maintain hiking poles effectively, from cleaning and inspecting to repairing and storing. Whether you own lightweight aluminum poles or durable carbon fiber ones, these tips will help you keep them in top shape for years to come.
1. Cleaning Your Hiking Poles
Why Cleaning Matters
Over time, dirt, mud, and grime accumulate on your hiking poles. If left uncleaned, this debris can cause corrosion, wear, and hinder smooth operation of moving parts.
Find the Best Accommodation Deals
Compare prices from multiple booking platforms and find the best option for your stay.
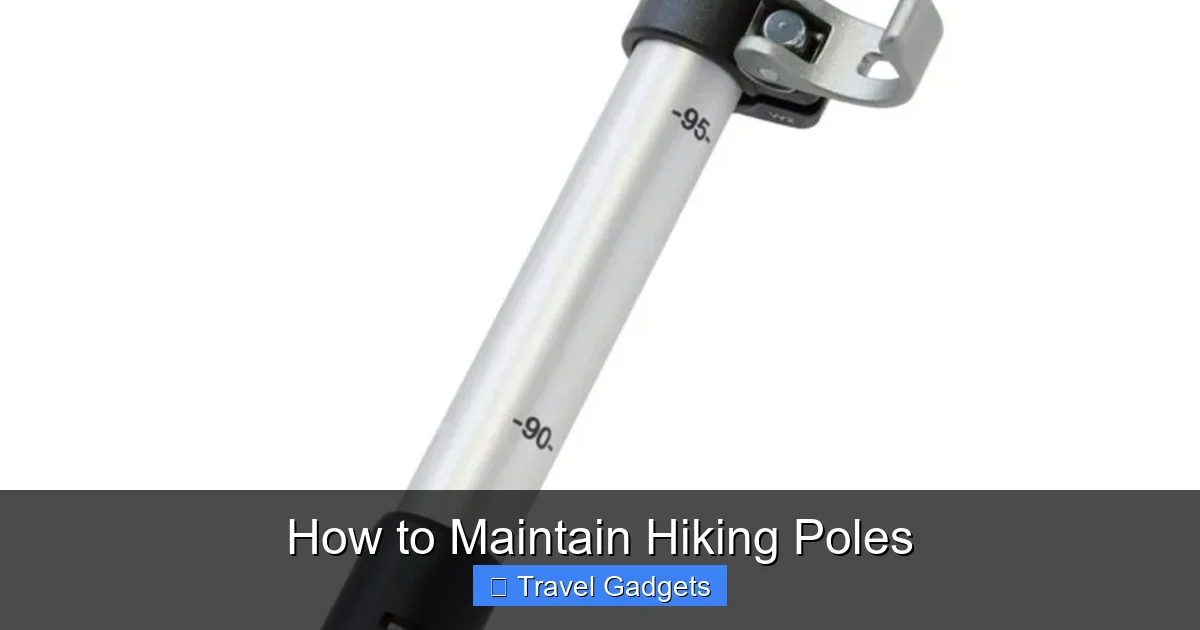
Compare Hotel PricesVisual guide about How to Maintain Hiking Poles
Image source: cdni.llbean.net
Find the Best Accommodation Deals
Compare prices from multiple booking platforms and discover the best stay options available.
⭐ Trusted by thousands of travelers
💰 Budget to luxury options available
Steps to Clean Your Hiking Poles
- Gather your cleaning supplies: Mild soap or detergent, water, a soft brush or cloth, and optional lubricant.
- Remove loose dirt: Use a dry cloth or brush to wipe off loose mud and dirt from all parts of the poles.
- Wash with soap and water: Mix a small amount of mild soap with water. Dip a cloth or sponge in the solution and wipe down the entire pole, paying special attention to joints and locks.
- Clean the tips and baskets: Use a small brush or toothbrush to remove mud from the tips and baskets. For stubborn dirt, soak the tips briefly in warm water.
- Dry thoroughly: Wipe all parts dry with a clean cloth. Allow the poles to air-dry completely before storage.
Bonus Tips
- For stubborn grime, use a mixture of water and vinegar or a specialized gear cleaner.
- Avoid harsh chemicals or abrasive scrubbers that can damage the finish or materials.
2. Inspecting Your Hiking Poles
Why Inspection Is Essential
Regular inspections can catch issues before they become serious. Detecting cracks, loose parts, or worn tips early saves you money and prevents accidents.
What to Look For
- Cracks or dents: Check the shaft for any visible damage, especially after falls or impacts.
- Loose locks or mechanisms: Ensure that twist locks, lever locks, or flick locks engage securely.
- Worn tips and baskets: Look for excessive wear, cracks, or missing parts.
- Grips: Examine for tears, looseness, or signs of deterioration.
- Rust or corrosion: Especially on metal parts, look for rust spots that can weaken the structure.
Tools for Inspection
- Flashlight for detailed viewing
- Magnifying glass for small cracks
- Replacement parts for quick fixes
3. Lubricating Moving Parts
Why Lubrication Matters
Proper lubrication keeps joints and locks functioning smoothly, preventing stiffness and ensuring safety on the trail.
How to Lubricate
- Choose the right lubricant: Use silicone spray or light lubricant designed for gear parts. Avoid WD-40 or heavy oils that can attract dirt.
- Apply sparingly: Spray or apply a small amount to the moving parts, such as locks, joints, and telescoping sections.
- Work the lubricant in: Extend and retract the poles several times to distribute the lubricant evenly.
- Wipe off excess: Remove any excess lubricant with a dry cloth to prevent dirt accumulation.
Pro Tip
Lubricate your poles every few months or after cleaning if you notice stiffness or difficulty locking the sections.
Best Stay Deals Available
Compare prices across top booking platforms and find the best deal for your stay.
Check Available Rooms4. Replacing Worn or Damaged Components
Common Parts to Replace
- Tips: Worn or broken tips can compromise grip and safety. Replace them when they become rounded or cracked.
- Baskets: Baskets prevent your poles from sinking into mud or snow. Replace if they are broken or missing.
- Grips: If grips are torn or uncomfortable, consider replacing or wrapping them with grip tape.
- Locks and mechanisms: If locks are loose or broken, replace with compatible parts.
How to Replace Components
- Identify the compatible replacement parts for your specific pole model.
- Follow the manufacturer’s instructions for removal and installation.
- Use appropriate tools, such as pliers or screwdrivers, if needed.
- Test the new parts for proper function before heading out.
5. Proper Storage of Hiking Poles
Storage Tips
- Keep dry: Store your poles in a dry, cool place to prevent rust and material degradation.
- Avoid extreme temperatures: Don’t leave them in direct sunlight or freezing environments for extended periods.
- Collapse or extend appropriately: If your poles are telescopic, collapse them to save space and prevent damage.
- Use a storage bag or hook: Keep them organized and protected from accidental impacts.
Additional Advice
Inspect your stored poles periodically to catch any signs of wear or damage early.
6. Troubleshooting Common Issues
Locking Mechanisms Won’t Engage
Lubricate the locks and ensure debris isn’t obstructing the mechanism. Replace if the lock is broken or worn out.
Tips Are Worn Out or Missing
Replace tips and baskets promptly to maintain effectiveness and safety.
Telescoping Sections Don’t Extend or Retract Smoothly
Clean the inside of the sections and apply a suitable lubricant. Replace if sections are bent or cracked.
Rust on Metal Parts
Remove rust with a gentle abrasive or rust remover. Store in a dry place to prevent recurrence.
Conclusion
Maintaining your hiking poles is simple but essential. Regular cleaning, inspections, lubrication, and proper storage can vastly extend their lifespan and keep you safe on the trail. Remember to follow your manufacturer’s instructions and replace worn parts promptly. With proper care, your hiking poles will serve you faithfully for many adventures in 2026 and beyond.
Final Tips for Happy Hiking
- Set a maintenance routine after every few hikes.
- Carry basic replacement parts and tools during longer trips.
- Check the poles thoroughly before each hike for peace of mind.
🎥 Related Video: How To Maintain Internal Locking Trekking Poles
📺 Enwild
This product has been discontinued, but we’re leaving the video up for your enjoyment. Check out the latest gear at Enwild: …