
If your hiking boot sole starts coming off, don’t panic. In this guide, you’ll discover simple, practical steps to repair your boots quickly and safely. Keep exploring the trails with confidence!
Key Takeaways
- Identify the problem early: Spotting a loose or detaching sole early can prevent further damage.
- Gather necessary tools: Adhesives, clamps, and cleaning supplies are essential for a proper fix.
- Choose the right adhesive: Use high-quality shoe glue designed for waterproof and flexible bonds.
- Prepare the surface: Clean and dry the sole and shoe for optimal adhesion.
- Follow correct repair steps: Properly apply glue, clamp, and cure for best results.
- Consider professional repair: If DIY isn’t effective, seek a cobbler for a durable fix.
- Prevent future issues: Regular maintenance and proper storage can extend your boots’ lifespan.
Quick Answers to Common Questions
Tip/Question?
How do I know if my sole is truly coming apart? Look for signs like creaking sounds, loose edges, or visible separation between the sole and upper.
Check the latest prices and available rooms before they sell out.
Tip/Question?
Can I use super glue for fixing my hiking boots? Super glue is generally not recommended, as it’s brittle and not flexible enough for the movement of footwear. Use a quality shoe adhesive instead.
Tip/Question?
How long should I wait before wearing my repaired boots? Allow at least 24 hours for the glue to cure fully before using the boots again.
Tip/Question?
Is it better to repair at home or seek professional help? Minor repairs can often be done at home. For extensive damage or professional-quality repairs, visiting a cobbler is advisable.
Tip/Question?
How can I prevent my hiking boots from damaging again? Regularly clean, waterproof, and store your boots properly. Replace soles when they show significant wear.
Introduction
Hiking boots are your trusted companions on outdoor adventures. But what happens if the sole starts coming off? It can be frustrating, especially during a long hike or camping trip. The good news is, a loose or detaching sole isn’t the end of your hiking journey. With the right tools and a bit of know-how, you can fix your boots yourself and get back on the trail quickly. In this comprehensive guide, you’ll learn step-by-step how to repair a hiking boot sole that’s coming off, whether you’re at home or out in the wilderness.
Understanding the Problem
Before diving into repairs, it’s important to understand why soles come loose. Common causes include wear and tear, exposure to water, poor initial bonding, or damage from rough terrain. Recognizing the signs early—such as a creaking sound, visible separation, or loose edges—helps in quick intervention.
Find the Best Accommodation Deals
Compare prices from multiple booking platforms and find the best option for your stay.
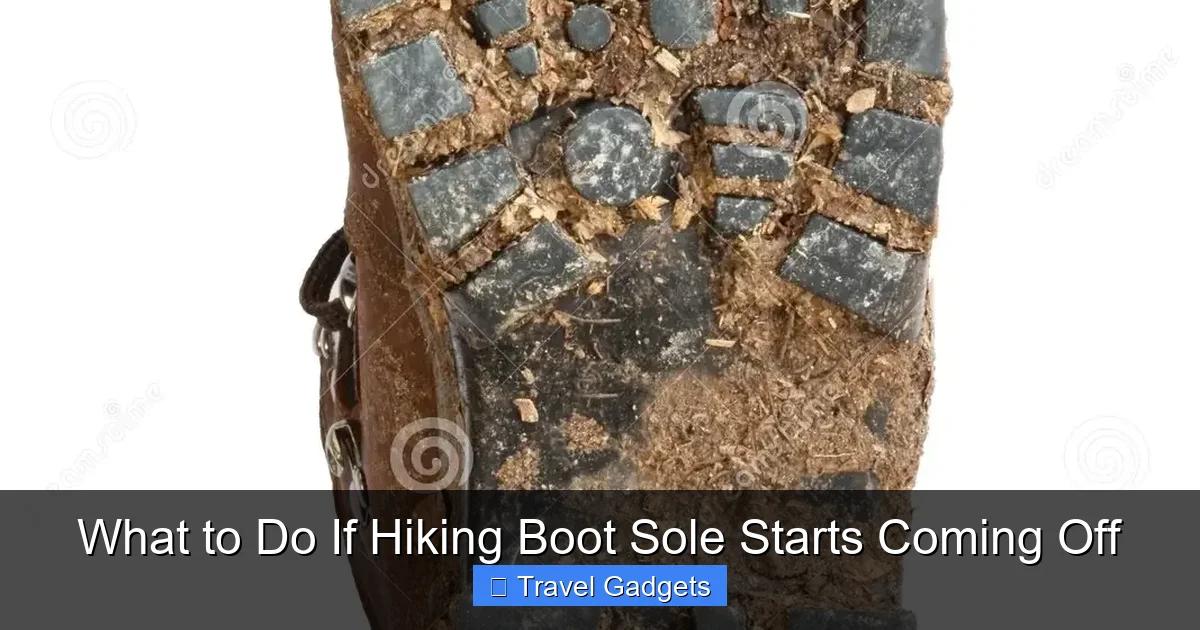
Compare Hotel PricesVisual guide about What to Do If Hiking Boot Sole Starts Coming Off
Image source: thumbs.dreamstime.com
Find the Best Accommodation Deals
Compare prices from multiple booking platforms and discover the best stay options available.
⭐ Trusted by thousands of travelers
💰 Budget to luxury options available
Addressing the problem promptly can prevent further damage, such as sole detachment or sole splitting, which might require more extensive repairs or replacement.
Tools and Materials Needed
- High-quality shoe glue: Specifically formulated for footwear repair (e.g., Shoe Goo, Barge Cement)
- Cleaning supplies: Rubbing alcohol, soft cloth, or brush
- Clamps or heavy weights: To hold the sole in place while curing
- Sandpaper or file: For roughening surfaces to improve adhesion
- Masking tape or painter’s tape: To protect surrounding areas during application
- Optional: Waterproof sealant or additional patches for extra reinforcement
Step 1: Assess the Damage
Check the extent of detachment
Start by gently lifting the loose part of the sole. Determine if it’s only partially detached or completely coming off. Look for cracks, tears, or areas where the glue has failed.
Best Stay Deals Available
Compare prices across top booking platforms and find the best deal for your stay.
Check Available RoomsVisual guide about What to Do If Hiking Boot Sole Starts Coming Off
Image source: clipart-library.com
Visual guide about What to Do If Hiking Boot Sole Starts Coming Off
Image source: i.etsystatic.com
Decide if a DIY fix is possible
If the sole is only slightly loose and the damage isn’t extensive, a simple repair may suffice. For large cracks or separation, consider professional repair or replacement.
Step 2: Clean and Prepare the Surface
Remove debris and old glue
Use a soft brush or cloth to clear away dirt, dust, and loose bits. If old glue is present, gently scrape it off with a small tool or file.
Disinfect the area
Wipe the surfaces with rubbing alcohol to remove oils and residues. Clean, dry surfaces improve the bonding strength of the adhesive.
Sand the surfaces lightly
Use fine-grit sandpaper to roughen the contact areas. This creates better grip for the glue and ensures a more durable bond.
Step 3: Apply the Adhesive
Choose the right glue
Select a high-quality, waterproof shoe glue like Shoe Goo or Barge Cement. These are flexible and durable, ideal for hiking boots.
Apply the glue evenly
Follow the manufacturer’s instructions. Usually, you spread a thin layer onto both surfaces—sole and shoe—using a small applicator or toothpick.
Be generous but neat
A good coverage ensures a strong bond, but avoid excess that could ooze out and make a mess.
Step 4: Bond and Clamp
Press the sole firmly in place
Align the sole properly with the shoe. Firmly press the parts together, ensuring contact across the entire surface.
Clamp or weigh down the shoe
Use clamps if available, or place a heavy object on the shoe to hold the sole in position. Allow adequate curing time as per glue instructions—usually 24 hours for full strength.
Protect the repair area
Wrap the shoe in cloth or use masking tape around the repair zone to keep everything in place and prevent accidental sticking to other surfaces.
Step 5: Finish and Test
Remove clamps and check adhesion
After curing, gently test the bond by applying light pressure. If the sole feels secure, proceed to the next step.
Clean excess glue
Wipe away any excess glue that may have squeezed out during pressing with a damp cloth.
Optional waterproof sealant
For extra protection, apply a waterproof sealant over the repair area. This helps keep water out and extends the life of your fix.
Step 6: Prevent Future Damage
- Regular maintenance: Clean and inspect your boots often.
- Proper storage: Keep footwear dry and well-stored when not in use.
- Avoid excessive water exposure: Waterproof your boots if necessary.
- Replace worn-out soles: Consider professional resoling when needed.
Troubleshooting Tips
- Sole won’t stick? Ensure surfaces are properly cleaned and roughened. Use fresh glue and apply firm pressure during bonding.
- Glue oozes out? Use masking tape to control excess and clean up immediately with a damp cloth.
- Repair fails during curing? Keep the shoe in a warm, dry place. Avoid moving it until fully cured.
- Persistent detachment? Consider reinforcing with a patch or seeking professional repair.
Conclusion
Dealing with a hiking boot sole that’s coming off is manageable with the right tools and steps. By promptly assessing, cleaning, applying quality adhesive, and properly curing, you can extend the life of your favorite boots. Regular maintenance and proper care will help prevent future issues, keeping you comfortable and safe on every adventure. Remember, if DIY repairs don’t hold, consulting a professional cobbler is always a good option for a long-lasting fix. Happy hiking!
🎥 Related Video: How to Fix a Boot Sole and Shoe Sole
📺 TheLittleWoodHouse
Have you ever had a pair of shoes or boots where the soul started to come apart or fall off? I discovered a new glue that is …