
In this guide, you’ll discover how to repair hiking boots in the field, ensuring your adventures can continue without interruption. From simple fixes like sole repairs to fixing torn leather, we’ll cover essential tips to keep your boots functional. With the right knowledge and tools, you can handle common issues during your outdoor trips and avoid costly replacements.
Key Takeaways
- Basic repairs are possible in the field: You can fix common issues like loose laces, small tears, and sole detachment with portable tools and supplies.
- Carry essential repair kit: A compact kit with glue, patches, needles, and laces can save your trip if a problem occurs.
- Temporary fixes can prolong your boots’ life: Quick repairs can get you safely back on the trail until you can do a full repair later.
- Know your materials: Understanding whether your boots are leather, synthetic, or waterproof helps choose the right repair method.
- Safety first: Always prioritize safe fixes to prevent further damage or injury during your hike.
- Plan ahead: Regularly inspect your boots before trips and carry repair supplies for peace of mind.
Quick Answers to Common Questions
Tip/Question?
How do I fix a torn leather hiking boot in the field? Use waterproof glue to seal small tears and reinforce with patches if available. For larger tears, consider temporary duct tape until you can do a proper repair.
Check the latest prices and available rooms before they sell out.
Tip/Question?
Can I repair a detached sole in the field? Yes, apply waterproof shoe glue generously and press the sole back onto the boot. Use a heavy rock or backpack to hold it in place until it cures.
Tip/Question?
What if my waterproof membrane is leaking? Use a waterproof sealant or repair tape as a temporary fix to keep your feet dry until you can do a proper repair later.
Tip/Question?
How should I carry repair supplies? Use a small, lightweight kit with glue, patches, laces, and a needle. Keep it in your backpack for easy access during hikes.
Tip/Question?
What’s a quick fix for loose laces? Replace with a spare or sturdy cord, thread through eyelets, and tie securely. Always carry spares to avoid getting stranded.
Can You Repair Hiking Boots in the Field?
Hiking boots are your best friends on outdoor adventures. But even the toughest boots can develop issues after miles of trail. The good news? Many common problems can be repaired right in the field, saving your trip and extending your boots’ life. In this guide, you’ll learn practical techniques to fix your hiking boots during your outdoor adventures, whether you’re on a day hike or a multi-day trek.
Understanding Your Hiking Boots
Before diving into repairs, it’s helpful to know what your boots are made of. Leather boots are durable but may need patching or waterproofing. Synthetic boots are lighter and flexible but can tear or delaminate. Waterproof membranes can sometimes be damaged, causing leaks. Recognizing these materials helps you choose the right repair method.
Find the Best Accommodation Deals
Compare prices from multiple booking platforms and find the best option for your stay.
Compare Hotel PricesVisual guide about Can You Repair Hiking Boots in the Field
Image source: bootwisdom.com
Find the Best Accommodation Deals
Compare prices from multiple booking platforms and discover the best stay options available.
⭐ Trusted by thousands of travelers
💰 Budget to luxury options available
Essential Tools and Supplies for Field Repairs
Having a small, portable repair kit can make all the difference. Here’s what to include:
Visual guide about Can You Repair Hiking Boots in the Field
Best Stay Deals Available
Compare prices across top booking platforms and find the best deal for your stay.
Check Available RoomsImage source: bootwisdom.com
- Strong waterproof glue: e.g., Shoe goo or super glue designed for shoes.
- Repair patches: Flexible patches or adhesive-backed fabric.
- Needle and waterproof thread: For sewing tears.
- Replacement laces: Always carry spares.
- Scissors or a knife: For trimming patches or laces.
- Cloth or rag: To clean surfaces before repair.
- Small hammer or rock: To press patches or soles into place.
Step-by-Step Guide to Repairing Hiking Boots in the Field
1. Assess the Damage
Start by examining your boots thoroughly. Identify issues such as:
Visual guide about Can You Repair Hiking Boots in the Field
Image source: bootwisdom.com
- Loose or broken laces
- Small tears or holes in the leather or fabric
- Detaching or cracked soles
- Leaking waterproof membranes
Prioritize repairs that are manageable in the field. Major sole detachments may require professional attention later.
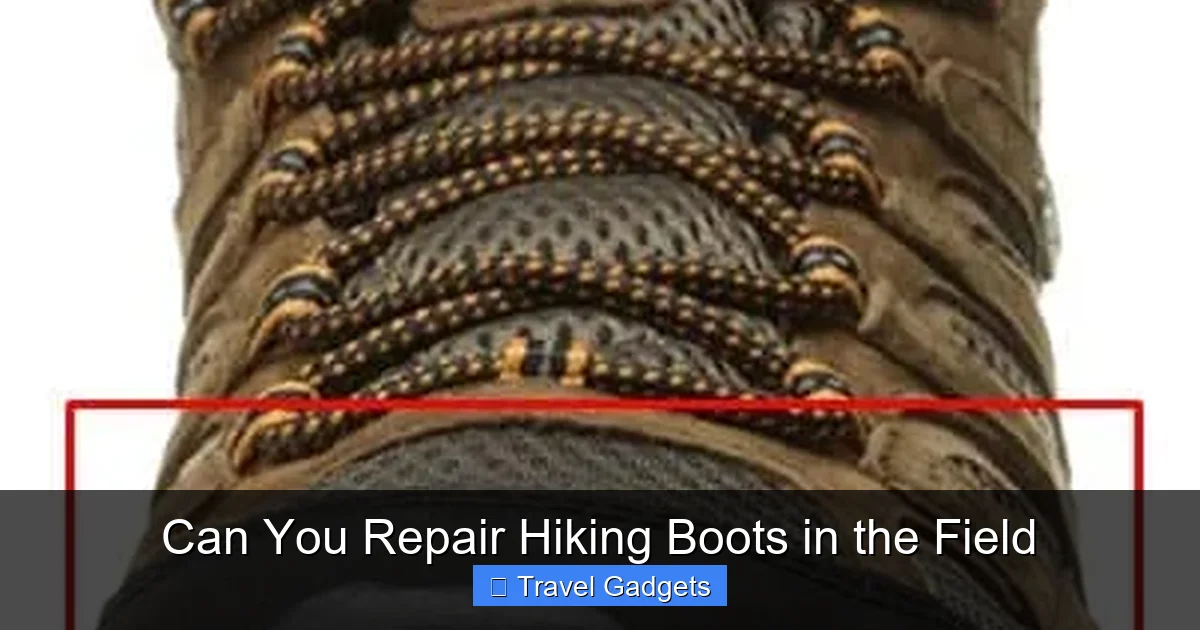
2. Fixing Loose or Broken Laces
Simple but effective. Replace broken laces with spares or re-lace the boots tightly. For lost laces:
- Use a spare lace or a sturdy cord.
- Thread it through the eyelets, starting from the bottom.
- Adjust for fit and tie securely.
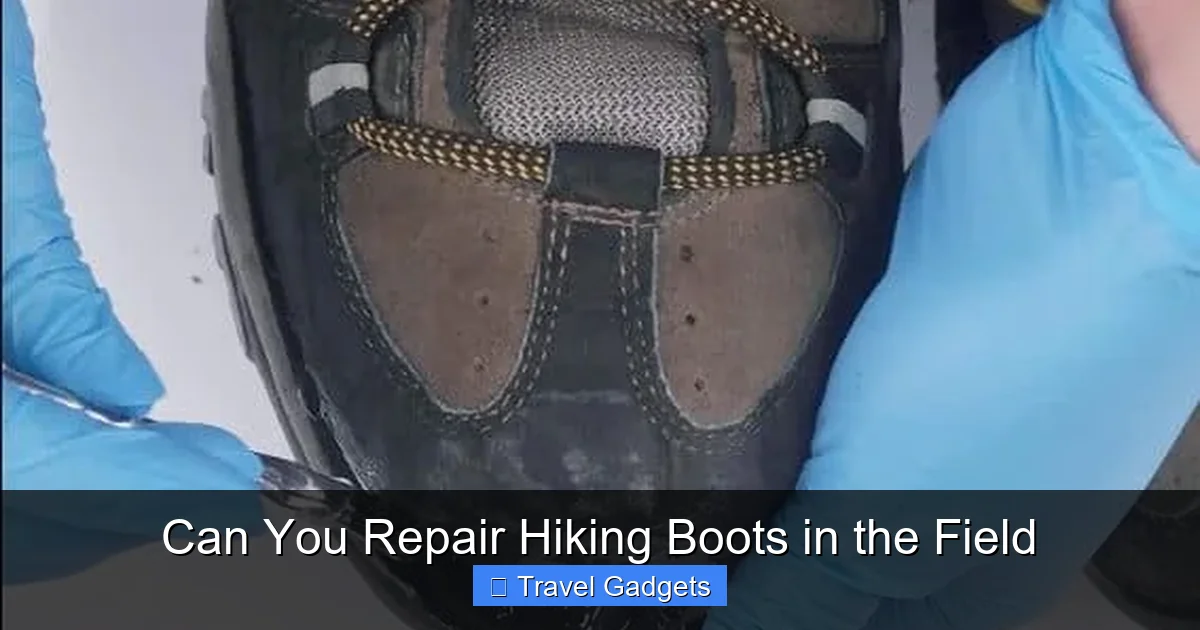
3. Repairing Small Tears or Holes in Leather or Fabric
This is common with rugged use. Follow these steps:
- Clean the area with a damp cloth to remove dirt.
- Apply a thin layer of waterproof glue or shoe repair adhesive over the tear.
- If you have an adhesive patch, cut it slightly larger than the tear.
- Press the patch firmly onto the tear, smoothing out air bubbles.
- Hold in place for a few minutes or as instructed on the glue.
- Allow it to set for at least 15-20 minutes before walking.
Tip: For leather, you can also use duct tape as a temporary patch in emergencies.
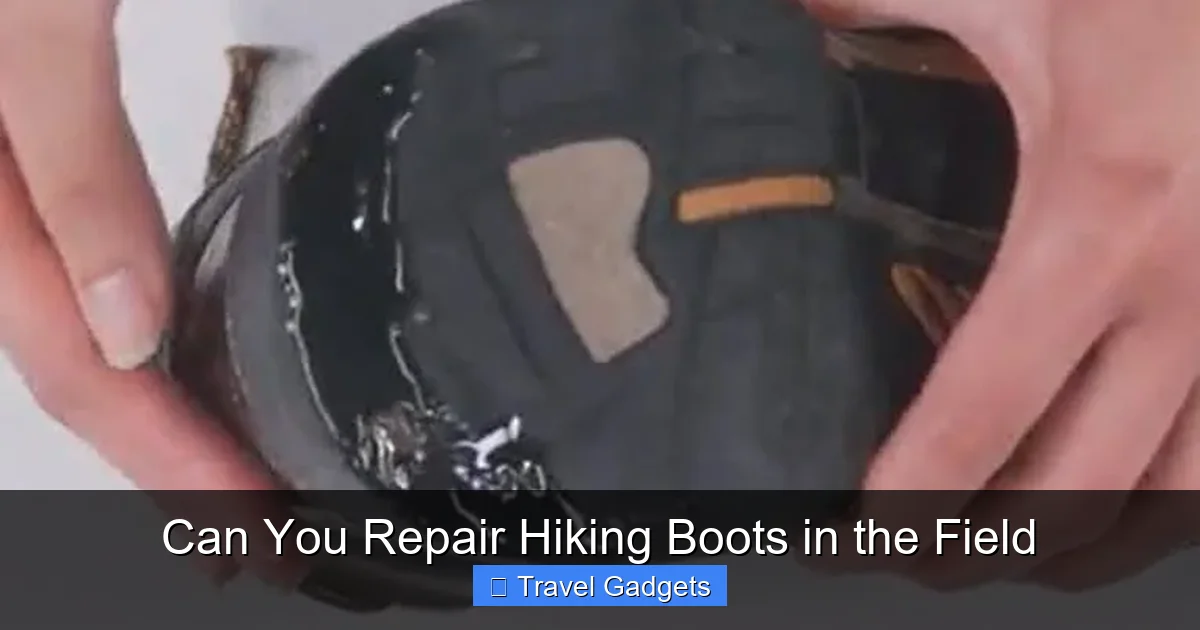
4. Reattaching or Repairing the Sole
Soles can come loose or crack over time. Here’s how to fix them:
- Clean the area where the sole detaches with a rag.
- Apply a generous amount of waterproof shoe glue or Shoe Goo to the affected area.
- Press the sole back onto the boot, ensuring alignment.
- Use a heavy object or rocks to press down and hold the sole in place.
- Let it cure for at least 30 minutes, or longer if possible.
Note: If the sole is severely worn or cracked, consider a full sole replacement later when you’re back home.
5. Waterproofing and Sealing Leaks
If your waterproof membrane is compromised, you can attempt a quick fix:
- Clean and dry the area.
- Apply a waterproof sealant or repair tape designed for shoes or tents.
- Press firmly and let it dry as per instructions.
This is a temporary fix, but it can keep your feet dry until you can do a proper repair.
Practical Tips for Successful Field Repairs
- Prepare before your trip: Inspect and repair any minor issues at home.
- Carry a lightweight repair kit: Keep it in your backpack for emergencies.
- Stay organized: Know where each repair tool is in your kit.
- Use the right materials: Waterproof glue for rubber and leather, fabric patches for soft materials.
- Be patient: Allow repairs to set fully before using the boots again.
- Don’t overdo it: For major damage, prioritize safety and consider delaying repairs until you’re back home.
Troubleshooting Common Field Repair Issues
Sometimes, repairs don’t go as planned. Here’s what to do:
- Adhesive not sticking: Ensure surfaces are clean and dry before applying glue.
- Patches peeling off: Use a stronger adhesive or reinforce with additional patches.
- Seam or sole detachment persists: Reapply glue, applying more pressure or using a clamp if available.
- Water leakage continues: Apply multiple coats of sealant or tape as a temporary fix.
Conclusion: Be Prepared, Stay Safe
Knowing how to repair your hiking boots in the field can save your trip and prevent unnecessary expenses. With some basic tools, materials, and a little know-how, you can handle common issues on the trail. Always carry a small repair kit, inspect your boots regularly, and don’t hesitate to perform quick fixes when needed. Being prepared ensures your outdoor adventures remain enjoyable and safe, no matter what surprises the trail throws your way.
Final Tips
- Practice repairs at home so you’re confident in the field.
- Carry multiple spare laces and patches for emergencies.
- Keep your repair kit lightweight but comprehensive.
- Remember, some repairs are temporary—plan for full repairs later.
🎥 Related Video: Fixing Hiking Boots after the Soles Separated from the Boot
📺 Marlon Banta
Have your hiking boots broken down such that the soles are separating from the upper part of the boot? This is likely the result of …