
If your hiking boots break during your hike, don’t panic. This guide provides simple, effective steps to handle the situation confidently. From quick repairs to safety tips, learn what to do to stay safe and complete your adventure.
Key Takeaways
- Assess the damage: Quickly evaluate whether your boots can be repaired or if you need to find an alternative solution.
- Carry repair kit: Always have a basic repair kit with patches, glue, and laces for emergencies.
- Use makeshift fixes: Temporary repairs like duct tape or paracord can prolong your hike.
- Prioritize safety: If the damage causes discomfort or injury risk, consider turning back or seeking help.
- Plan ahead: Prevent issues by choosing durable boots, breaking them in, and packing spare laces or insoles.
- Know when to call it quits: Recognize signs that your boots are unsafe to continue using and adjust your plans accordingly.
Quick Answers to Common Questions
Tip/Question?
Can duct tape really hold my sole together? Yes, duct tape is a quick fix that can temporarily hold a torn sole, but it’s not a permanent solution. Replace or repair the sole properly as soon as possible.
Check the latest prices and available rooms before they sell out.
Tip/Question?
What if my laces break mid-hike? Use paracord, shoelaces from your kit, or even a sturdy twig or stick as a temporary replacement to keep your boots secure.
Tip/Question?
How can I prevent my boots from breaking? Regularly inspect your boots, break them in beforehand, and avoid using worn-out footwear on tough hikes.
Tip/Question?
Should I continue hiking if my boots are damaged? If the damage causes pain, instability, or risk of injury, it’s safest to turn back or seek help. Don’t push through if safety is compromised.
Tip/Question?
What’s the best way to carry repair tools? Keep a small, lightweight repair kit in an accessible pocket or compartment in your backpack for quick access during emergencies.
Introduction
Hiking is a fantastic way to explore nature, get exercise, and find peace. But what happens if your hiking boots break mid-hike? It can be stressful, especially if you’re far from help or a trailhead. Don’t worry—this guide will show you exactly what to do if your hiking boots give out. Whether it’s a torn sole, broken laces, or a damaged toe box, you’ll learn how to handle the situation confidently and safely. By the end, you’ll know practical repair tips, safety steps, and how to avoid future problems.
Step 1: Stay Calm and Assess the Damage
Stay Calm
The first step is to keep your cool. Panicking won’t help and can make the situation worse. Take a deep breath and focus on assessing the damage.
Find the Best Accommodation Deals
Compare prices from multiple booking platforms and find the best option for your stay.
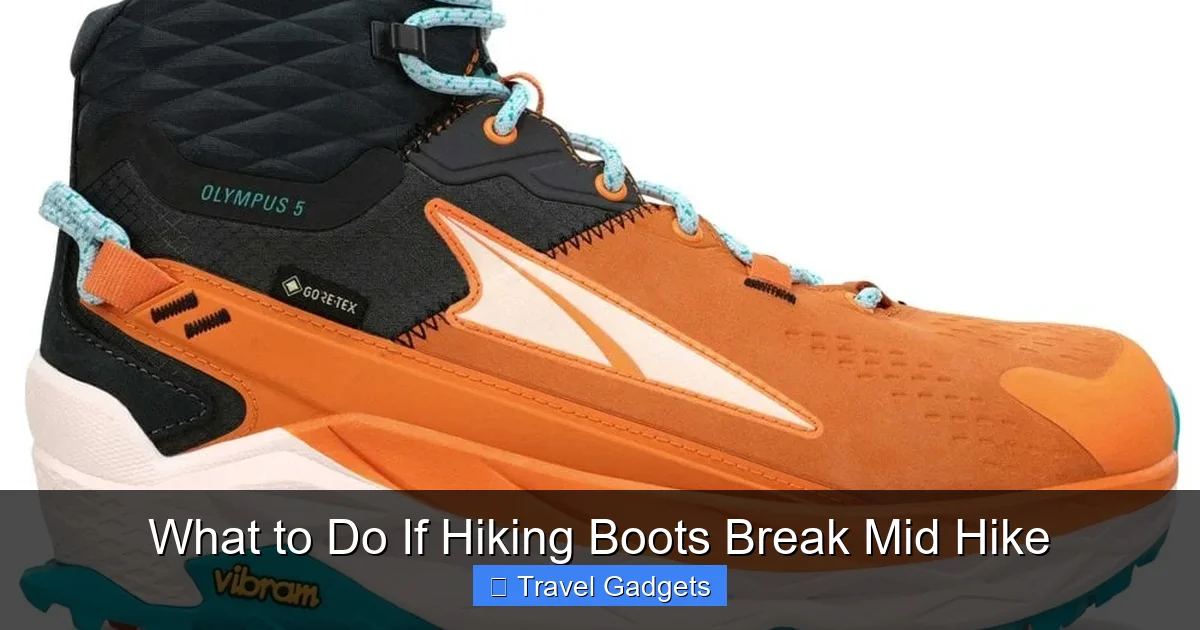
Compare Hotel PricesVisual guide about What to Do If Hiking Boots Break Mid Hike
Image source: northernrunner.com
Find the Best Accommodation Deals
Compare prices from multiple booking platforms and discover the best stay options available.
⭐ Trusted by thousands of travelers
💰 Budget to luxury options available
Evaluate the Damage
Check where and how your boots are broken. Common issues include:
- Torn or worn-out sole
- Broken laces or eyelets
- Damaged toe box or upper material
- Insole coming loose or worn
Understanding the problem helps you decide on the best course of action.
Step 2: Determine if You Can Continue or Need to Turn Back
Assess Your Comfort and Safety
If the damage causes pain, blisters, or instability, it’s safer to turn back. If the boots are still functional and you feel comfortable, you might repair or improvise a fix.
Best Stay Deals Available
Compare prices across top booking platforms and find the best deal for your stay.
Check Available Rooms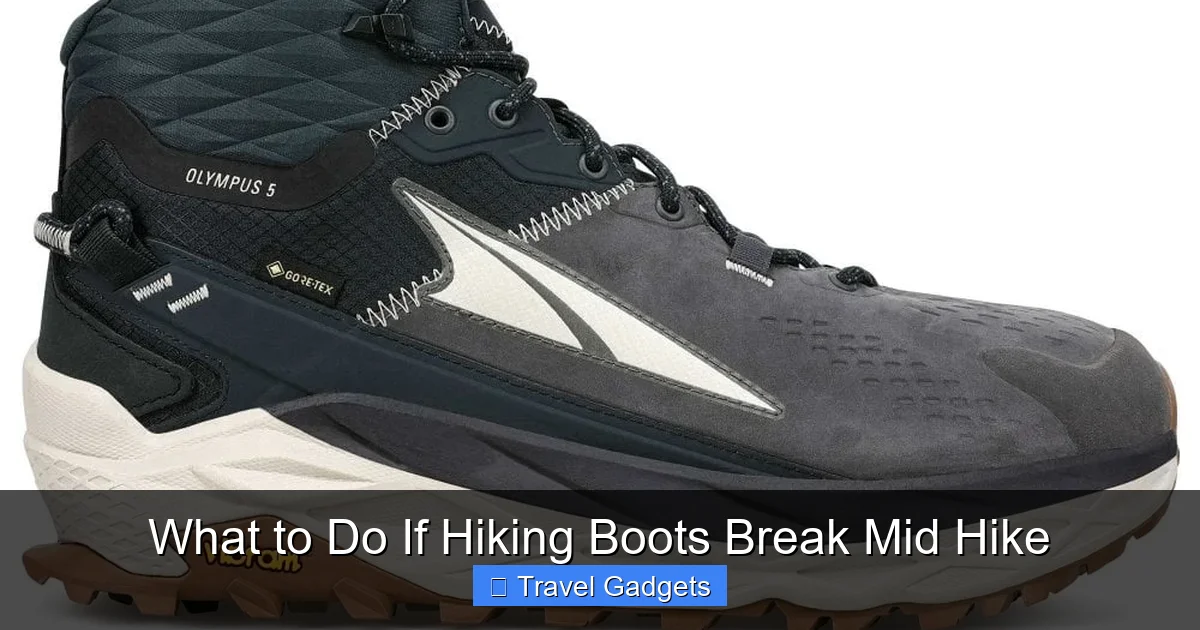
Visual guide about What to Do If Hiking Boots Break Mid Hike
Image source: northernrunner.com
Estimate Your Remaining Distance
Knowing how far you are from the trailhead or safety point helps. If you’re close, it might be easier to walk back. If you’re deep into the trail, consider temporary fixes to keep going.
Step 3: Implement Temporary Repairs
Using Common Items for Makeshift Fixes
Often, you can fix minor issues temporarily with items in your pack or pocket:
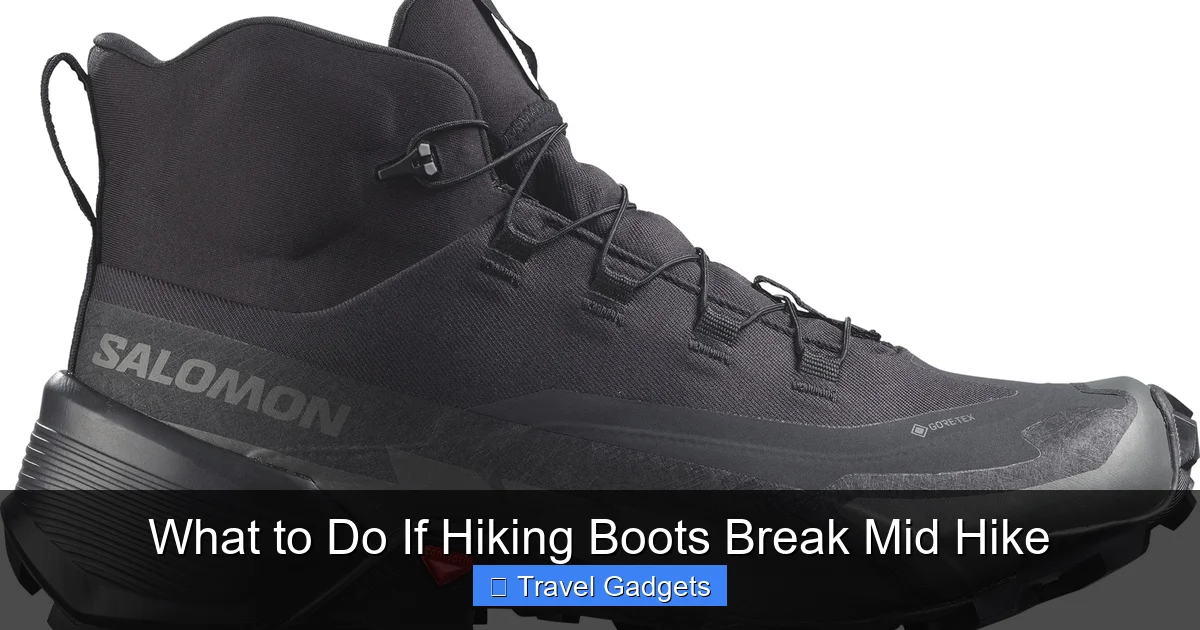
Visual guide about What to Do If Hiking Boots Break Mid Hike
Image source: altitude-sports.com
- Duct tape: Wrap around torn soles or upper parts to hold everything together.
- Paracord or shoelaces: Replace broken laces or secure loose parts.
- Super glue or repair adhesive: Use for small tears or cracks, but be cautious about skin contact.
- Extra insoles or padding: Improve comfort if insoles are loose or damaged.
Practical Example: Fixing a Torn Sole
If your sole is peeling off, carefully tape it down with duct tape, wrapping tightly. This may not last long but can get you through the hike. For more durability, you can glue it temporarily if you have a repair kit.
Step 4: Use Your Repair Kit Effectively
What to Include in a Basic Repair Kit
Always carry a small repair kit designed for hiking boots, which may include:
- Patch kits or adhesive
- Extra laces
- Small scissors
- Needle and thread (nylon or heavy-duty)
- Super glue or specialized shoe glue
How to Use Repair Items
Follow the instructions carefully. For example, when gluing a torn sole, clean the area, apply glue evenly, press firmly, and let it cure for the recommended time. Use patches for larger tears, pressing them firmly and allowing enough drying time.
Step 5: Prioritize Your Safety and Comfort
Monitor Your Condition
Pay attention to how your feet feel. If you notice increased pain, blistering, or instability, it’s time to reconsider continuing.
Adjust Your Hiking Plans
If repairs hold, proceed cautiously. Walk slowly, watch your footing, and take breaks to check your boots. If the damage worsens or you feel unsafe, consider turning back or seeking assistance.
Step 6: Seek Help or Find Alternatives
Call for Help if Needed
If you’re injured or your boots are severely damaged, don’t hesitate to call emergency services or a rescue team. Carry a fully charged phone or a satellite device for emergencies.
Use Nearby Resources
If you’re near a ranger station, trailhead, or someone else on the trail, seek help. Sometimes, fellow hikers can lend supplies or help with repairs.
Step 7: Prepare for Future Hikes
Prevention Tips
- Invest in durable, well-fitting hiking boots.
- Break in new boots before long hikes.
- Carry a small repair kit tailored for footwear issues.
- Pack extra laces, insoles, and a knife or scissors for quick fixes.
- Check your boots regularly during hikes for signs of damage.
Conclusion
Breaking a hiking boot mid-hike can be stressful, but with the right mindset and tools, it’s manageable. Remember to stay calm, assess the damage, use makeshift repairs, and prioritize safety. Proper preparation and quick thinking can help you complete your adventure or return safely. Always learn from the experience to prevent future issues, and happy hiking!
Additional Tips
- Carry a lightweight repair kit in your backpack.
- Practice quick fixes at home so you’re ready on trail.
- Choose high-quality boots suited to your hiking terrain.
🎥 Related Video: How to Break in Hiking Boots || REI
📺 REI
Want those new hiking boots to fit like a glove? Liv is here to walk you through the right way to break in your boots to keep you and …