
Tearing hiking boots can be frustrating, especially when you’re miles from help. This guide shows you step-by-step methods to repair torn hiking boots during your trip, ensuring you can continue your adventure comfortably. From quick fixes to more durable repairs, you’ll learn practical solutions for common boot tears.
Key Takeaways
- Assess the damage: Determine the size and location of the tear to choose the best repair method.
- Use quick fixes: Temporary solutions like duct tape or super glue can help you get by until a proper repair.
- Apply proper materials: For durable fixes, use waterproof patches, sewing kits, or specialized boot repair products.
- Follow safety precautions: Ensure your repair doesn’t compromise the boot’s waterproofing or support.
- Plan ahead: Carry basic repair tools and supplies during hikes to handle emergencies effectively.
- Know when to seek help: If the tear is severe or beyond your skills, consider replacing or professionally repairing your boots after the trip.
Quick Answers to Common Questions
Tip 1: What’s the fastest way to temporarily fix a tear?
Use duct tape or heavy-duty tape wrapped tightly around the tear for an instant, water-resistant patch.
Check the latest prices and available rooms before they sell out.
Tip 2: How can I reinforce a small tear in leather?
Sew along the tear with waterproof thread and consider applying a leather patch behind it for extra durability.
Tip 3: What should I carry in my hiking repair kit?
Always pack super glue, waterproof patches, a sewing needle and thread, scissors, and a small roll of tape.
Tip 4: How do I ensure my repair lasts longer?
Clean and dry the area thoroughly before applying any repair, then allow adhesives to cure fully before use.
Tip 5: When should I seek professional repair?
If the tear is large, affects the sole, or the repair feels unstable, it’s best to get your boots professionally fixed after your trip.
Introduction
There’s nothing worse than tearing your hiking boots during a trip. Whether it’s a small rip in the leather or a torn seam in the fabric, such damage can threaten your comfort and safety on the trail. But don’t panic! With a little know-how and the right tools, you can fix torn hiking boots temporarily—or even permanently—while still out in the wild. In this guide, you’ll learn step-by-step methods to repair common boot tears, ensuring you stay protected and comfortable until you can get a professional repair or replacement.
Assess the Damage
Inspect the Tear
First, carefully examine your boots to understand the extent of the damage. Is it a small rip in the fabric or a large tear in the leather? Is the sole coming apart? Knowing this helps you decide the best repair method.

Visual guide about How to Fix Torn Hiking Boots During a Trip
Find the Best Accommodation Deals
Compare prices from multiple booking platforms and find the best option for your stay.
Compare Hotel PricesImage source: static.cimalp.fr
Determine the Location
Check if the tear is on a high-stress area like the sole attachment, the upper fabric, or the leather sides. Damage in high-stress zones needs a more durable fix, while minor tears can be temporarily patched.
Find the Best Accommodation Deals
Compare prices from multiple booking platforms and discover the best stay options available.
⭐ Trusted by thousands of travelers
💰 Budget to luxury options available
Step 1: Gather Your Repair Supplies
Essential items to carry:
- Super glue or waterproof adhesive: For small tears and quick fixes.
- Duct tape or heavy-duty tape: Temporary patch for immediate relief.
- Waterproof patches or repair kits: For more durable fixes, available at outdoor stores or online.
- Sewing kit with strong thread: For sewing tears in fabric or leather.
- Scissors and cleaning cloths: To prepare the surface before repair.
Step 2: Prepare the Surface
Clean the Area
Before repairing, thoroughly clean the torn area. Use a damp cloth to remove dirt and debris. Dry the area completely to ensure adhesion.
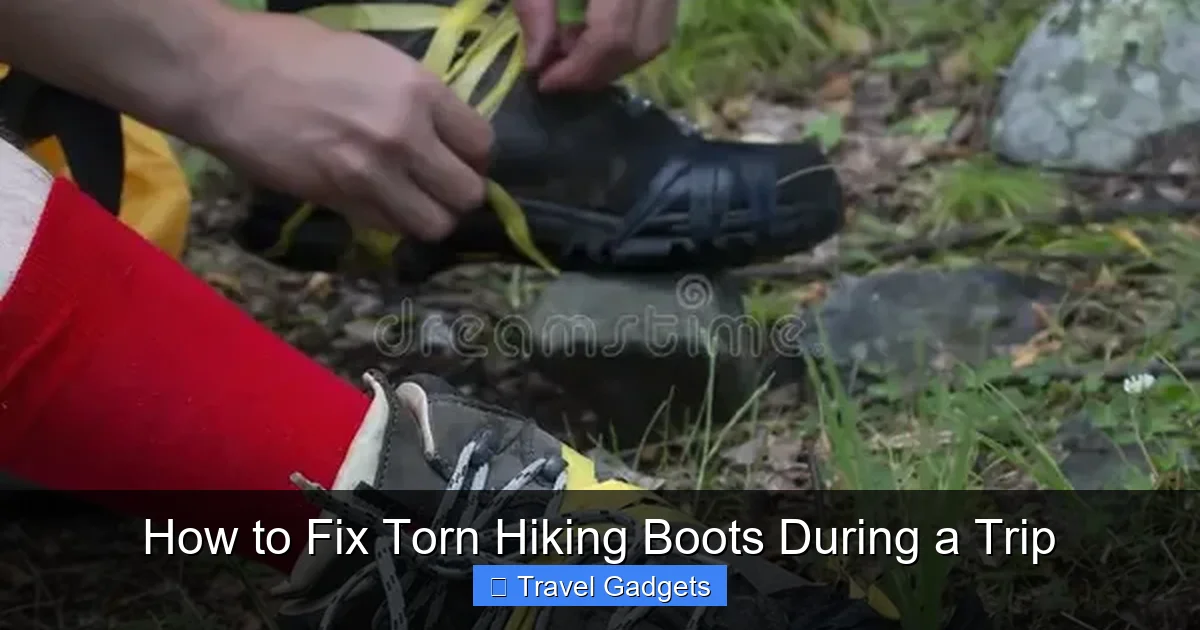
Visual guide about How to Fix Torn Hiking Boots During a Trip
Best Stay Deals Available
Compare prices across top booking platforms and find the best deal for your stay.
Check Available RoomsImage source: thumbs.dreamstime.com
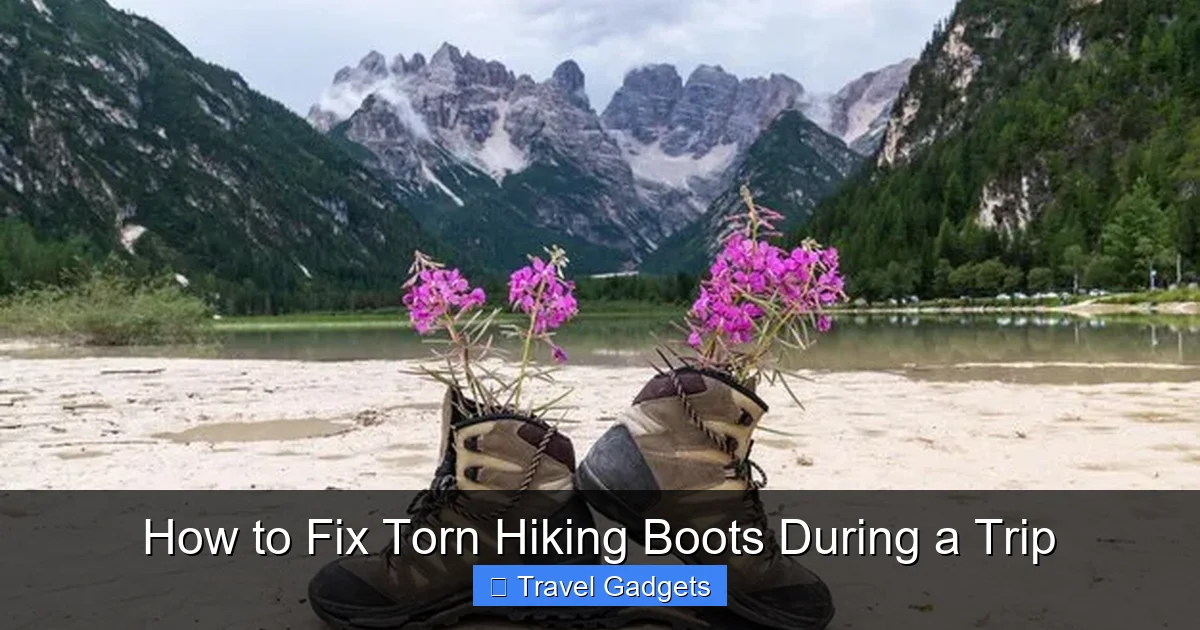
Visual guide about How to Fix Torn Hiking Boots During a Trip
Image source: img.freepik.com
Dry and Roughen the Surface
If the area is smooth or shiny, lightly roughen it with sandpaper or a file. This helps the adhesive bond better.
Step 3: Temporary Fixes for Immediate Relief
Using Duct Tape or Heavy-Duty Tape
Wrap the tape tightly around the tear, covering both sides if possible. This provides an instant barrier against water and further ripping. Remember, this is only a quick fix.
Applying Super Glue or Waterproof Adhesive
For small tears, apply a thin layer of super glue or waterproof adhesive directly into the tear. Press the edges together and hold for a minute until it sets. This can hold for a few hours or days, depending on the damage.
Step 4: Permanent Repairs for Longer-lasting Fixes
Using Waterproof Patches or Repair Kits
For more durable repairs, use specialized waterproof patches designed for footwear. Follow the instructions on the kit—usually involving cleaning, applying adhesive, and pressing the patch firmly into place. Make sure the patch overlaps the tear by at least 1/2 inch for best results.
Sewing the Tear
If the tear is in fabric or leather, sewing is a reliable method. Use a strong, waterproof thread and a heavy needle. Sew along the tear with tight, even stitches. For extra durability, double-stitch or reinforce with patch material underneath.
Reinforcing the Repair
For added strength, you can apply a second patch or sew a backing piece of fabric or leather behind the tear. This distributes stress and prevents future tearing.
Step 5: Final Touches and Testing
Seal the Repair
If you used adhesive or patches, let the repair cure for the recommended time (usually 24 hours). Avoid walking on the repaired area until fully set.
Test the Repair
Gently flex the area to see if the repair holds. Check for leaks if waterproofing is critical. If the fix feels secure, you’re ready to continue your hike.
Additional Tips and Tricks
- Carry repair supplies: Always pack a small repair kit when hiking.
- Use waterproofing sprays: Apply after repairs to enhance water resistance.
- Monitor your boots: Check the repaired area regularly for signs of further damage.
- Be cautious with repairs: Avoid overly bulky fixes that may affect comfort or support.
Troubleshooting Common Issues
- Glue not sticking: Ensure the surface is clean and dry. Use a high-quality waterproof adhesive.
- Patch peeling off: Make sure to press firmly and let it cure fully. Consider sewing for added durability.
- Water leaks through the repair: Apply additional waterproof sealant or reinforce with a new patch.
Conclusion
Fixing torn hiking boots during a trip is entirely possible with some basic supplies and know-how. Whether you need a quick temporary fix or a more durable repair, the key is to assess the damage, choose the appropriate method, and take your time to ensure the best result. Proper preparation and carrying essential tools can turn a potential disaster into a minor inconvenience, letting you enjoy your adventure without unnecessary worry.
Remember, always prioritize safety and comfort. If the tear is too severe or complex, consider replacing the boots or seeking professional repair after your trip. Happy hiking!
🎥 Related Video: Hiking Boot Eyelet & Hook Repair #diy #hiking #outdoors #repair #shoes
📺 DuctTapers Anonymous
Don’t throw out your damaged hiking boots because of this! Here’s how to replace broken or torn hooks and eyelets.