
Learn how to fix your hiking boots with duct tape in easy steps. This guide offers practical tips for quick, effective repairs on the trail or at home, ensuring your hiking adventures continue smoothly. Keep your boots functional and save money with simple duct tape fixes.
Key Takeaways
- Quick Fix Solution: Duct tape is a versatile and readily available material for temporary hiking boot repairs.
- Identify Damage: Assess whether the damage is suitable for a duct tape fix, such as small tears or worn soles.
- Preparation is Key: Clean and dry your boots before applying duct tape for maximum adhesion.
- Proper Application: Wrap duct tape tightly around the damaged area, overlapping for durability.
- Temporary but Effective: Duct tape repairs can last for several hikes but are not permanent solutions.
- Additional Tips: Use duct tape to reinforce seams, seal leaks, or patch small holes to extend your boots’ lifespan.
Quick Answers to Common Questions
What is the first step?
Start by understanding the basics of how to repair hiking boots with duct tape.
Check the latest prices and available rooms before they sell out.
Introduction
Hiking boots are essential gear for any outdoor adventure. But even the best boots can get damaged over time—rips, holes, or worn soles can slow you down or cause discomfort. Fortunately, you don’t need to buy new boots every time. Repairing your hiking boots with duct tape is a quick, effective, and inexpensive solution—perfect for emergencies or minor damage. In this guide, you’ll learn step-by-step how to make durable repairs using duct tape, so you can keep hiking without interruption.
Why Use Duct Tape for Hiking Boot Repairs?
Duct tape is a common household item that’s strong, flexible, and waterproof. It adheres well to various materials like leather, rubber, and synthetic fabrics. Its versatility makes it ideal for quick fixes on the trail or at home. While not a permanent solution, duct tape can extend the life of your boots until you can get a proper repair or replacement.
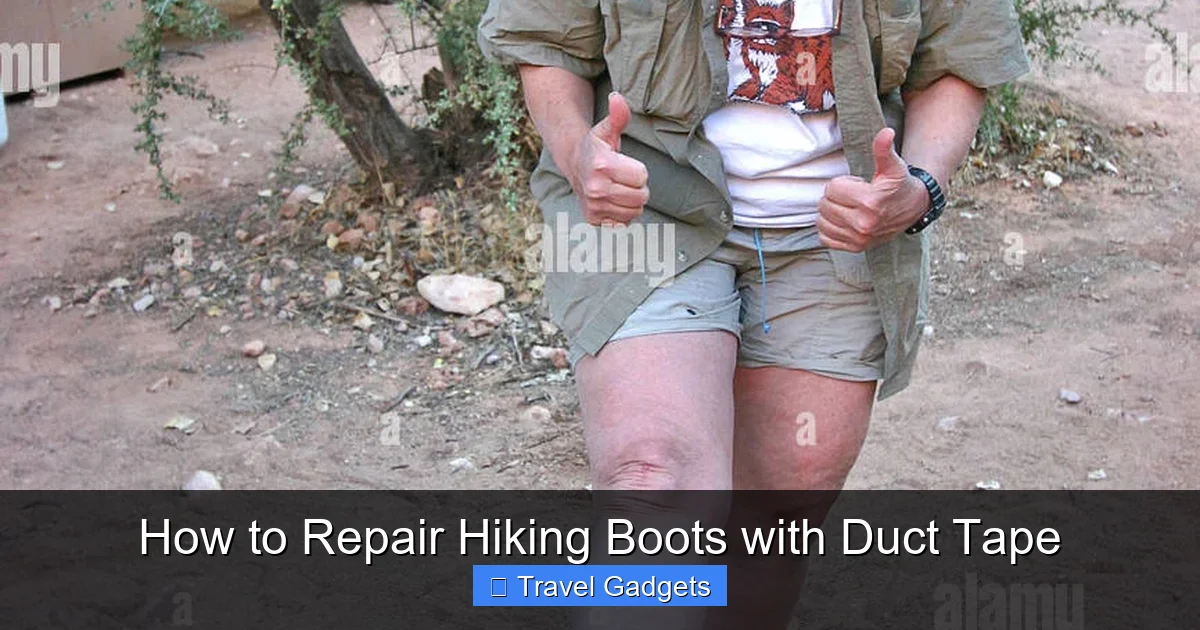
Visual guide about How to Repair Hiking Boots with Duct Tape
Image source: c8.alamy.com
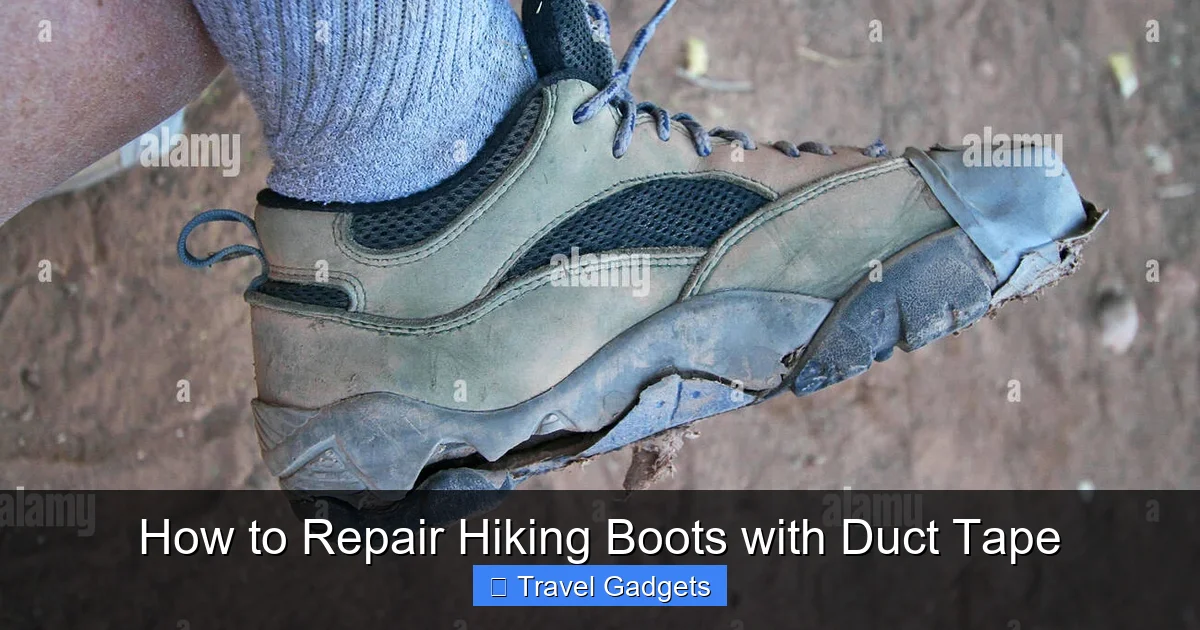
Assessing the Damage
Before you start, examine your hiking boots carefully. Not all damage is suitable for duct tape repairs. Look for:
Find the Best Accommodation Deals
Compare prices from multiple booking platforms and find the best option for your stay.
Compare Hotel PricesVisual guide about How to Repair Hiking Boots with Duct Tape
Image source: c8.alamy.com
Find the Best Accommodation Deals
Compare prices from multiple booking platforms and discover the best stay options available.
⭐ Trusted by thousands of travelers
💰 Budget to luxury options available
- Small tears or holes: Duct tape works well for minor rips.
- Worn soles or loose treads: Can be temporarily reinforced.
- Leaks or cracks in waterproof membranes: Seal small leaks to prevent water ingress.
Avoid using duct tape on large holes or severe structural damage that compromises the boot’s integrity. In such cases, professional repair or replacement may be necessary.
Tools and Materials Needed
Gather the following supplies before starting:
Best Stay Deals Available
Compare prices across top booking platforms and find the best deal for your stay.
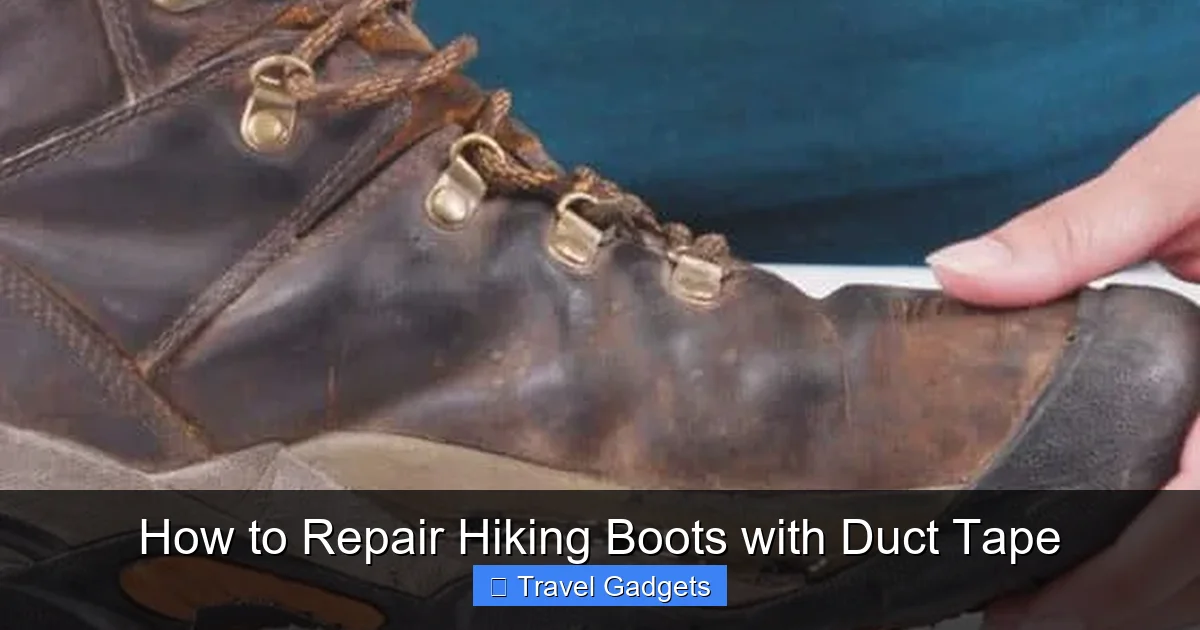
Check Available RoomsVisual guide about How to Repair Hiking Boots with Duct Tape
Image source: bootwisdom.com
- Duct tape: Heavy-duty, waterproof duct tape is best.
- Cleaning supplies: Mild soap, water, and a cloth.
- Scissors or knife: To cut tape cleanly.
- Optional: Leather conditioner or waterproofing spray for additional protection.
Step-by-Step Guide to Repair Hiking Boots with Duct Tape
Step 1: Clean and Dry the Damaged Area
Start by thoroughly cleaning the area around the damage. Use mild soap and water to remove dirt, mud, or debris. Rinse well and let it dry completely. This ensures the duct tape adheres firmly and lasts longer.
Step 2: Prepare the Tape
Cut a piece of duct tape slightly larger than the damaged area. If the damage is small, a strip about 3-4 inches long should suffice. For larger tears, cut multiple strips for overlapping layers.
Step 3: Apply the Tape
- Start at one edge of the damage.
- Lay the tape flat, pressing down firmly as you wrap around the affected area.
- Overlap the tape by about half its width to create a strong seal.
- Continue wrapping until the entire damage is covered and reinforced.
Make sure the tape is smooth and free of wrinkles or air bubbles, as these can reduce adhesion and durability.
Step 4: Reinforce the Repair
For added strength, apply a second layer of tape over the first, especially if the damage is extensive. Wrapping multiple layers can help the repair last longer during rugged hikes.
Step 5: Check Your Work
Press down along the edges to ensure the tape sticks well. Test the flexibility of the repaired area by gently bending or flexing the boot. If the tape begins to lift, add a new layer for reinforcement.
Additional Tips for Better Repairs
- Use waterproof duct tape: This type resists moisture and lasts longer in wet conditions.
- Patch from inside if possible: Sometimes applying duct tape on the inside of the shoe can provide extra support.
- Combine with other fixes: Use a sealant or waterproof spray on top of duct tape for extra protection against water.
- Limit the repair’s scope: Focus duct tape repairs on small areas to prevent bulkiness and discomfort.
When to Replace Your Hiking Boots
While duct tape repairs are handy, they are temporary. Keep an eye on the damage:
- If the tape begins to peel or lift after a few hikes.
- If the damage worsens or affects your comfort and safety.
- If the sole or structural components become compromised beyond simple patching.
In such cases, it’s wise to invest in new hiking boots to ensure safety and comfort on the trail.
Troubleshooting Common Issues
- Tape peeling off in wet conditions: Use waterproof duct tape and apply additional layers. Ensure the boot is completely dry before application.
- Uneven or wrinkled tape: Remove and reapply, smoothing out as you go. Use a flat tool or your fingers for a tight seal.
- Damage too large for duct tape: Consider using a patch of sturdy fabric or contacting a professional for proper repair.
Conclusion
Repairing hiking boots with duct tape is a simple skill that can save your trip and extend the life of your footwear. While it’s not a permanent fix, it’s perfect for emergency repairs or minor damages. Remember to clean the area well, use waterproof tape, and reinforce your patch for best results. With these tips, you’ll be ready to tackle trails even when your boots face rough conditions. Happy hiking!
Quick Tips
Tip/Question?
How long does a duct tape repair last on hiking boots?
Typically, a well-applied duct tape repair can last for several hikes, especially if kept dry and reinforced. However, it’s a temporary fix and should be checked regularly.
Tip/Question?
Can I use regular duct tape for hiking boot repairs?
It’s better to use waterproof or heavy-duty duct tape, as regular duct tape may peel off quickly in wet conditions.
Tip/Question?
Should I patch from inside or outside?
Both work, but patching from inside can provide additional support and prevent the tape from catching on debris or causing discomfort.
Tip/Question?
Can duct tape fix waterproofing issues?
Yes, duct tape can temporarily seal leaks, but for long-term waterproofing, consider applying specialized waterproofing sprays or sealants after the repair.
Tip/Question?
What if the damage is too big for duct tape?
If the tear or hole is large, duct tape may only provide a temporary fix. Consider a professional repair or replacing the boots for safety.
🎥 Related Video: Emergency Hiking Boot Repair with Adventure Tape
📺 Adventure Tape Official
Using Adventure Tape to fix a hiking boot when the sole comes away from the boot – www.adventuretape.com.