
Replacing hiking pole tips is a simple process that can significantly improve your trekking experience. In this guide, you’ll learn how to remove old tips and install new ones safely and efficiently. Whether you’re a seasoned hiker or a beginner, these tips will help you maintain your poles for optimal performance.
Key Takeaways
- Identify the type of tip: Different hiking poles have various tip styles; knowing yours helps in selecting the right replacement.
- Gather necessary tools: Most replacements require no tools, but some may need pliers or a rubber mallet.
- Removing the old tip: Carefully pull or twist the old tip off to avoid damaging the pole.
- Installing the new tip: Align and push the new tip firmly onto the pole end for a secure fit.
- Check fit and stability: Ensure the new tip is snug and stable before heading out on your hike.
- Regular maintenance: Inspect and replace tips regularly for safety and optimal traction on different terrains.
Quick Answers to Common Questions
Tip 1: How often should I replace my hiking pole tips?
Inspect your tips before each hike and replace them when they show signs of wear, cracking, or flattening. Typically, every 6-12 months with regular use.
Check the latest prices and available rooms before they sell out.
Tip 2: Can I use different types of tips on the same pole?
Yes, many hikers switch tips based on terrain — rubber tips for pavement, carbide for rocky trails. Just ensure they fit your poles properly.
Tip 3: What if my new tip is too tight or loose?
If tight, try gently tapping it into place. If loose, double-check the size or consider using a small amount of adhesive or a different tip size.
Tip 4: Are all hiking pole tips reusable?
No, some tips are designed for single use, especially carbide or tungsten tips. Rubber tips are reusable and replaceable.
Tip 5: How do I prevent my tips from wearing out quickly?
Use the appropriate tip for each terrain, avoid excessive force, and inspect regularly to replace worn tips early.
Introduction
Hiking poles are essential gear that provide stability, reduce fatigue, and improve balance on uneven trails. Over time, the tips of your trekking poles can wear down or become damaged, reducing their effectiveness. Luckily, replacing hiking pole tips is quick and easy. This guide will walk you through every step needed to replace your tips confidently, ensuring your poles stay in top shape for all your adventures in 2026.
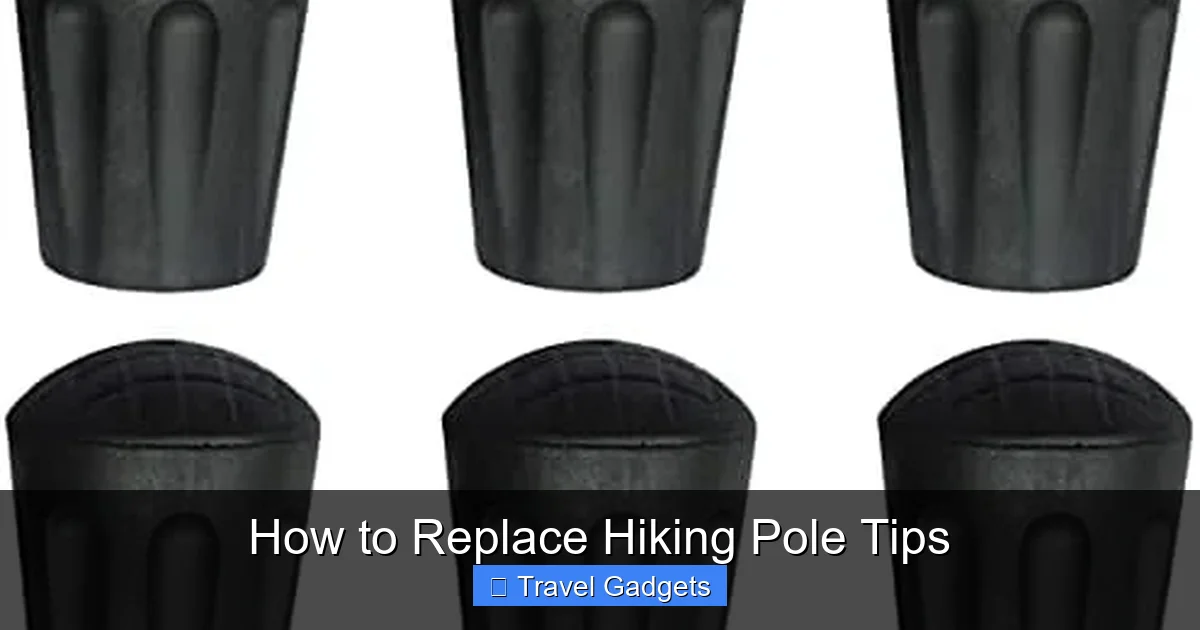
Understanding Your Hiking Pole Tips
Before you start, it’s important to understand the different types of hiking pole tips. Most trekking poles come with rubber tips for general use, but you might also encounter carbide or tungsten tips for rugged terrains. Some poles have removable tips that are easy to replace, while others may have integrated or fixed tips that require more effort or professional help to repair.
Find the Best Accommodation Deals
Compare prices from multiple booking platforms and find the best option for your stay.
Compare Hotel PricesVisual guide about How to Replace Hiking Pole Tips
Image source: m.media-amazon.com
Find the Best Accommodation Deals
Compare prices from multiple booking platforms and discover the best stay options available.
⭐ Trusted by thousands of travelers
💰 Budget to luxury options available
Knowing which type you have helps in selecting the correct replacement tips and ensures compatibility. Always check the manufacturer’s specifications or the existing tips for size and style before purchasing replacements.
Tools and Materials Needed
Replacing hiking pole tips is usually straightforward and doesn’t require many tools. Here’s what you’ll need:
Best Stay Deals Available
Compare prices across top booking platforms and find the best deal for your stay.
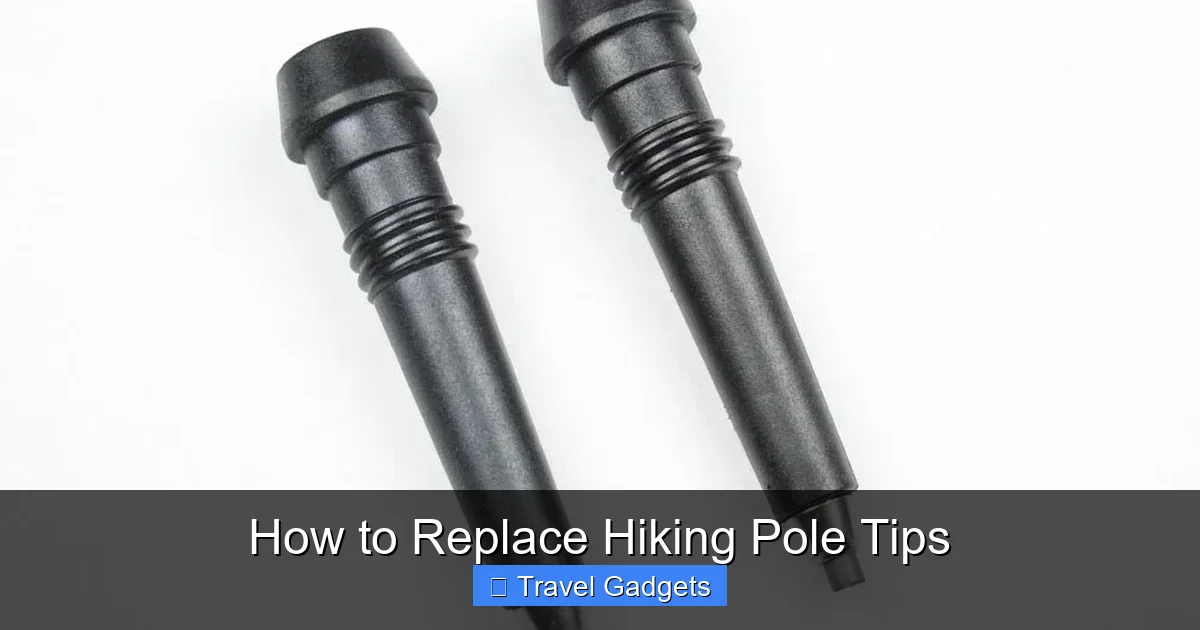
Check Available RoomsVisual guide about How to Replace Hiking Pole Tips
Image source: cdn.shopify.com
- Replacement tips: Make sure they match the size and type of your current tips.
- Rubber mallet (optional): For stubborn tips.
- Pliers (optional): To grip and remove tight tips.
- Clean cloth or brush: To remove dirt or debris from the pole ends.
- Lubricant (optional): To ease the removal process if tips are stuck.
Step 1: Inspect Your Trekking Poles
Start by examining your trekking poles and the tips. Check for signs of wear, damage, or looseness. If the tips are cracked, bent, or missing, it’s time to replace them. Make sure the pole ends are clean and free of dirt or debris, which can interfere with fitting new tips.
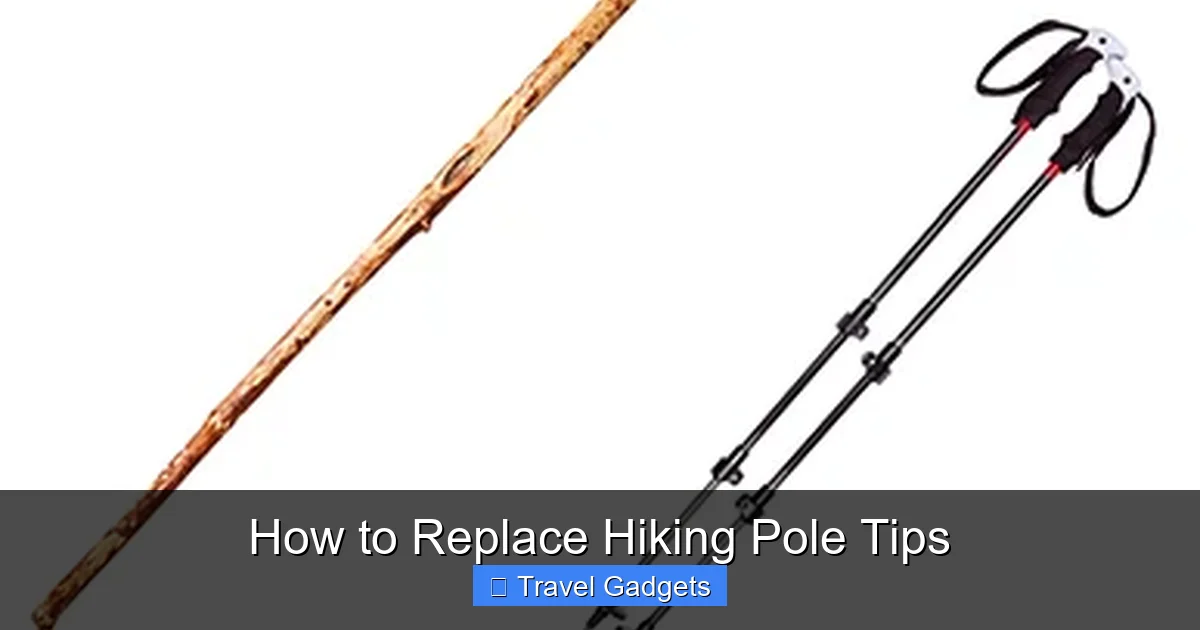
Visual guide about How to Replace Hiking Pole Tips
Image source: thebackpackguide.com
Identify the type of tips on your poles—rubber, carbide, or other—so you can select suitable replacements.
Step 2: Remove the Old Tips
Method 1: Pulling Off
Most rubber tips are designed to slide off easily. Grip the tip firmly and pull upwards. If it’s loose, you can simply pull it off with your hands.
Method 2: Twisting
If the tip is tight, gently twist it back and forth while pulling. This can help loosen it from the pole end.
Method 3: Using Pliers or a Mallet
If the tip is stubborn, use pliers to grip the base of the tip firmly and pull it off. Be careful not to damage the pole. Alternatively, gently tap the tip with a rubber mallet to loosen it.
Tip: Apply a small amount of lubricant or WD-40 around the base if the tip is stuck, and wait a few minutes before trying again.
Step 3: Prepare the Pole End
After removing the old tip, clean the pole end with a cloth or brush to remove dirt, debris, or rust. Inspect the pole end for damage or deformities. A clean and smooth surface ensures a snug fit for the new tip.
Step 4: Install the New Tip
Align the Tip
Take your new replacement tip and align it with the pole end. Most tips are designed to fit only one way, so check for directional markings or shape cues.
Push Firmly
Press the new tip firmly onto the pole end. You should feel some resistance, indicating it’s snugly fitted. For a tight fit, you might need to apply a little more force or tap gently with a rubber mallet.
Check Stability
Once installed, wiggle the tip slightly to ensure it doesn’t come loose. It should be secure and stable, ready for your next hike.
Step 5: Test and Adjust
Before heading out, test the stability of your poles on a flat surface. Walk a few steps to ensure the tips grip well and don’t slip. If the tips are loose, remove and reinstall, or try a different size or style of tip.
Additional Tips for Maintenance and Longevity
- Regular Inspection: Check tips before every hike, especially after rough terrain.
- Rotate tips: If you use different terrains, consider swapping tips (rubber for pavement, carbide for rocky trails).
- Store properly: Keep your poles and tips dry and clean when not in use.
- Replace worn tips: Don’t wait until tips are completely worn out; replace them early to prevent damage to the pole ends.
Troubleshooting Common Issues
- Tip won’t come off: Apply lubricant and wait a few minutes. Use pliers carefully, or gently tap with a mallet.
- New tip is loose: Ensure you have the correct size. If still loose, consider using a small amount of epoxy or adhesive, but only as a last resort.
- Tips keep slipping during use: Check for wear, and replace tips more frequently if needed. Consider using heavier-duty tips for rugged terrain.
Conclusion
Replacing hiking pole tips is a simple maintenance task that can extend the life of your trekking poles and improve your hiking safety. With just a few tools and some basic steps, you can keep your gear in perfect condition for every adventure. Regular inspection and timely replacement of worn tips will ensure you get the best performance from your poles in 2026 and beyond.
Happy Hiking!
Now that you know how to replace hiking pole tips, you’re all set for smoother, safer treks. Remember, well-maintained gear makes a big difference on the trail. Happy hiking in 2026!
🎥 Related Video: How to replace hiking pole tips
📺 GCHiker
Long version: https://www.youtube.com/watch?v=zTKvQp0Sfxg Hiking poles, also called trekking poles, are important for hikers …