
Choosing the right banner size for a 10×10 tent is crucial for maximum visibility and professional appeal. A well-sized banner enhances your brand presence at trade shows, markets, or outdoor events without looking cramped or overwhelming. This guide walks you through optimal dimensions, material choices, and practical setup tips to ensure your message stands out clearly and effectively.
Key Takeaways
- Standard Banner Size: For a 10×10 tent, a common banner size is 10 feet wide by 8 feet tall—this covers the front panel and two side panels without excess fabric.
- Material Matters: Choose durable vinyl or polyester banners that resist fading, water, and wrinkles for long-term outdoor use.
- Print Quality Is Key: High-resolution graphics with bold colors ensure readability from a distance and maintain professionalism.
- Proper Mounting: Use tension rods, grommets, or Velcro straps to securely attach banners while allowing easy removal and reattachment.
- Consider Custom Sizes: If standard sizes don’t fit your design needs, work with a printer to create a custom banner tailored to your tent layout.
- Visibility Over Aesthetics: Prioritize legibility and contrast over intricate designs—your message should be clear even in low light.
- Plan for Wind & Weather: Reinforce banners with extra support or choose lighter materials if high winds are expected.
📑 Table of Contents
- What Size Banner for 10×10 Tent: The Complete Guide
- Why Banner Size Matters for Your 10×10 Tent
- How to Choose the Right Material
- Design Tips for Maximum Impact
- Installation Made Easy: How to Hang Your Banner
- Custom vs. Off-the-Shelf Banners: Which Should You Pick?
- Maintaining Your Banner Between Events
- Real-World Examples: What Others Are Doing Right
- Conclusion: Make Every Square Foot Count
What Size Banner for 10×10 Tent: The Complete Guide
If you’re setting up a booth at a trade show, farmers market, or pop-up event, your tent banner is often the first thing people notice. It’s more than just decoration—it’s your brand’s visual handshake. But here’s the catch: choosing the wrong banner size can make your display look unbalanced, unprofessional, or even ineffective. So, what size banner for a 10×10 tent should you actually use?
Check the latest prices and available rooms before they sell out.
In this article, we’ll walk you through everything you need to know about selecting, printing, and installing the perfect banner for your 10×10 canopy. Whether you’re new to event marketing or just refreshing your setup, these insights will help you make a strong, lasting impression.
Why Banner Size Matters for Your 10×10 Tent
A 10×10 tent has three main fabric panels: the front, back, and two sides. Most people want their banner to cover the front and at least one or both sides. Getting the size right ensures your branding looks cohesive, professional, and visually appealing—not haphazard or underwhelming.
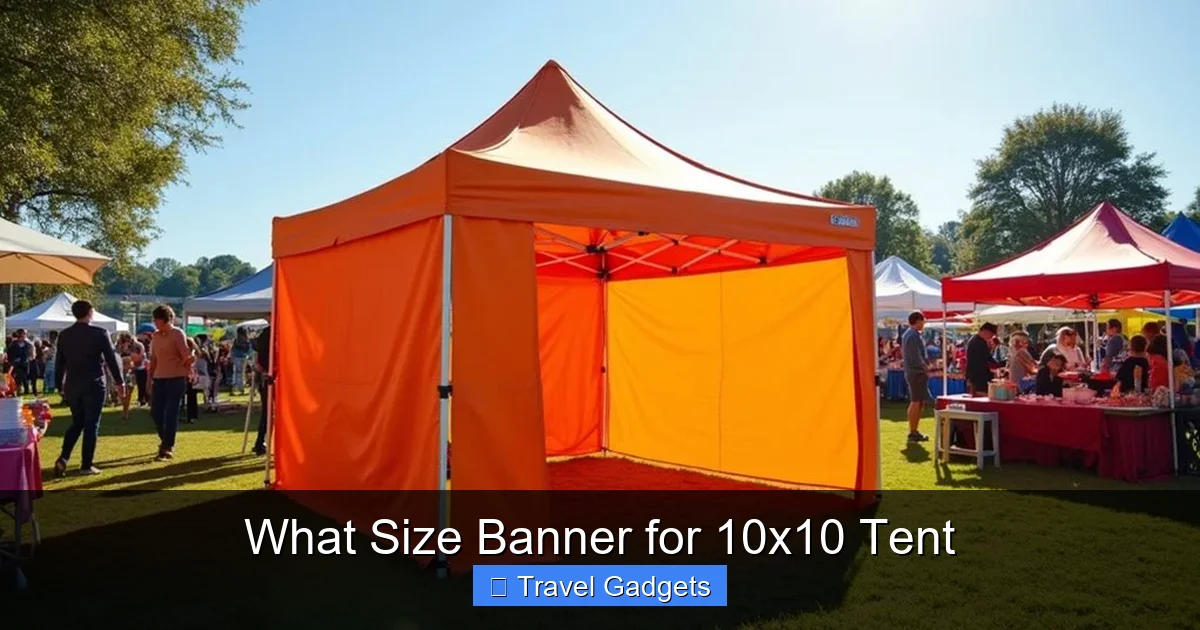
Visual guide about What Size Banner for 10×10 Tent
Image source: besttentreview.com
The Standard Dimensions You Should Know
The most popular banner size for a 10×10 tent is 10 feet wide by 8 feet tall. This dimension fits snugly across the front panel and drapes down onto the sides, creating a seamless look. Some vendors offer banners as tall as 10 feet to cover the full height of the tent wall, but 8 feet is usually sufficient unless you’re aiming for dramatic coverage.
Another option is a double-sided banner, which wraps around both the front and back of the tent. These are typically 10 feet wide by 16 feet long (front + back). While great for visibility from all angles, they require more fabric and careful alignment during setup.
Find the Best Accommodation Deals
Compare prices from multiple booking platforms and find the best option for your stay.
Compare Hotel PricesCommon Mistakes People Make
- Too small: A banner that doesn’t reach the ground or side edges looks incomplete and cheap.
- Too large: Oversized banners can flap in the wind, tear, or overwhelm the tent structure.
- Poor aspect ratio: Banners that are too wide or too narrow disrupt the visual flow and make text hard to read.
How to Choose the Right Material
Your banner’s material affects durability, appearance, and ease of use. For a 10×10 tent, you’ll typically see three main options: vinyl, polyester, and canvas.
Find the Best Accommodation Deals
Compare prices from multiple booking platforms and discover the best stay options available.
⭐ Trusted by thousands of travelers
💰 Budget to luxury options available
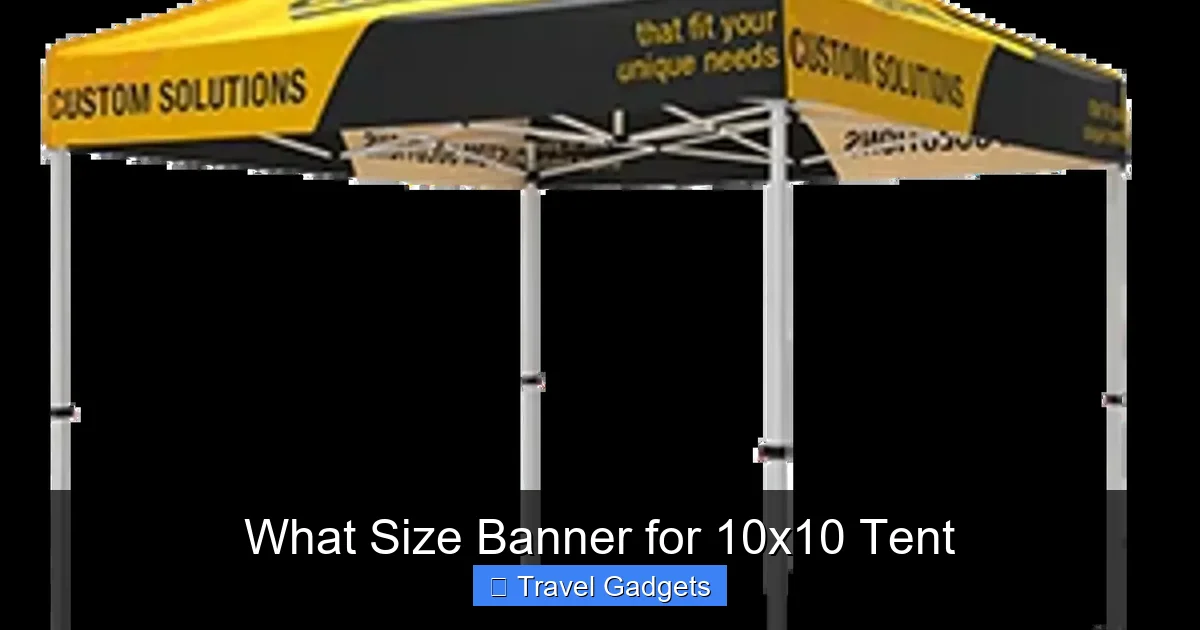
Visual guide about What Size Banner for 10×10 Tent
Image source: static.westshade.com
Vinyl Banners: The Workhorse
Vinyl is the go-to choice for most event professionals. It’s waterproof, tear-resistant, and holds vibrant prints well. Standard vinyl banners come in matte or glossy finishes—glossy reflects light beautifully but may cause glare, while matte reduces shine and maintains color consistency.
Best Stay Deals Available
Compare prices across top booking platforms and find the best deal for your stay.
Check Available RoomsTip: Look for blockout vinyl if you’re using LED lights inside your tent. This prevents light bleed-through, making your graphics pop.
Polyester Flags: Lightweight & Flexible
Made from woven polyester, these banners are lightweight and drape elegantly. They’re ideal for breezy conditions because they move gently with the wind. However, they’re less rigid than vinyl and may require extra support poles or sandbags to stay upright.
Canvas Tents & Fabric Wraps: Premium Aesthetic
If you’re going for a rustic or high-end look, canvas banners or fabric wraps can elevate your booth. But keep in mind—they’re heavier, harder to clean, and not recommended for frequent travel unless properly stored.
Design Tips for Maximum Impact
Even the best banner size won’t help if your design is cluttered or hard to read. Follow these best practices to make your message unforgettable.
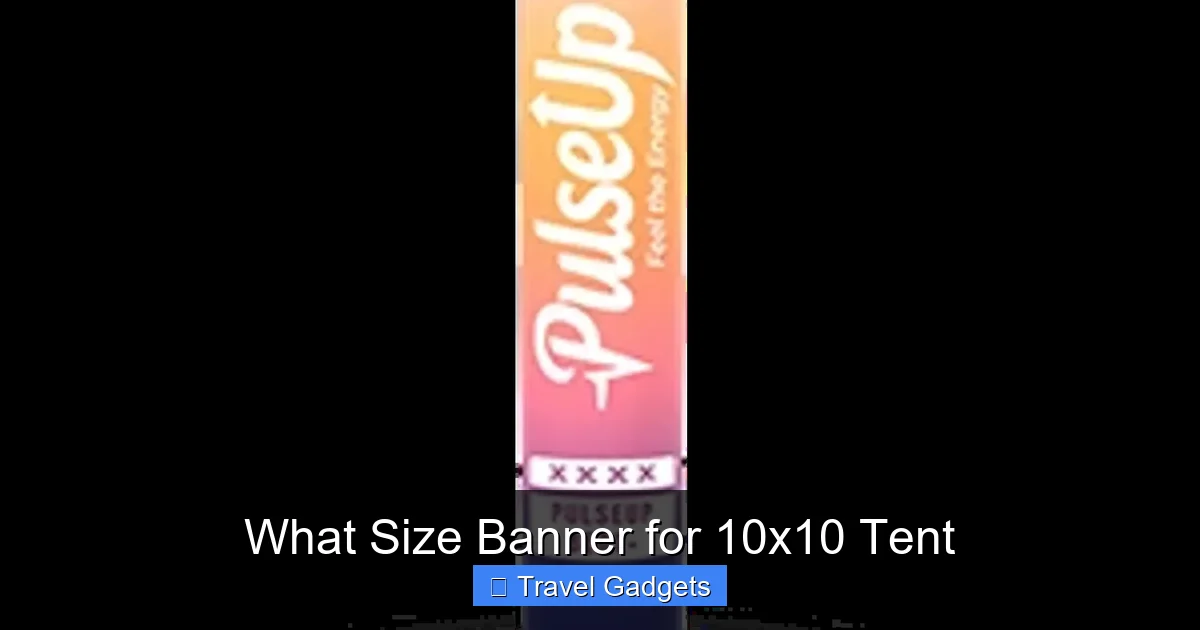
Visual guide about What Size Banner for 10×10 Tent
Image source: static.westshade.com
Keep It Simple and Bold
Aim for one clear message—like your business name, logo, and a call to action (“Visit Us Today!”). Avoid tiny fonts or dense paragraphs. Use large, sans-serif typefaces that stand out from 20+ feet away.
Color Strategy Works Wonders
Stick to 2–3 core colors. Bright, contrasting palettes (like black on yellow or white on blue) grab attention fast. Remember: readability trumps creativity when it comes to outdoor visibility.
Test Readability Before Printing
Print a small test version and hold it up against your tent. Ask someone to read the headline from across the room. If they can’t make it out, scale up your font or simplify the layout.
Include Contact Information Clearly
Make sure your website, phone number, and social handles are easy to spot. QR codes are also gaining popularity—just ensure the code links directly to your landing page.
Installation Made Easy: How to Hang Your Banner
Once your banner arrives, the real challenge begins: mounting it properly. A poorly installed banner can sag, tear, or fall during setup—ruining your whole day.
Use Tension Rods for Quick Setup
Tension rods slide into the hem pockets of your banner and press against the inside of the tent frame. They’re lightweight, reusable, and perfect for fast assembly. Just insert the rod, stretch it to fit, and secure it with clips or ties.
Grommets Add Durability
Metal grommets reinforce holes along the banner’s edge, allowing you to thread ropes or bungee cords through. This method works well for heavier banners or windy environments. Space them every 12–18 inches for even weight distribution.
Velcro Strips Offer Reusability
Adhesive-backed Velcro strips let you attach banners directly to the tent fabric. They’re great for quick changes between events, but avoid placing them near seams where they might peel off.
Anchor With Sandbags or Stakes
For outdoor setups, weigh down the bottom corners with sandbags or use ground stakes if your tent allows it. This prevents flapping and keeps the banner taut.
Custom vs. Off-the-Shelf Banners: Which Should You Pick?
Most suppliers offer pre-made banners in standard sizes. But sometimes, your brand vision requires something unique.
When to Go Custom
- You have irregular tent shapes or non-standard panel layouts.
- Your design includes complex artwork or photography that doesn’t translate well on generic templates.
- You plan to reuse the banner across multiple tents or events.
Custom banners cost more upfront but save time and improve consistency. Just provide your printer with precise measurements and vector files for the best results.
Pros and Cons of Pre-Made Options
| Option | Pros | Cons |
|---|---|---|
| Pre-Made Banners | Faster delivery, lower cost, ready to ship | Limited sizing, may require trimming or overlapping |
| Custom Banners | Perfect fit, branded exactly how you want | Slower turnaround, higher price point |
Maintaining Your Banner Between Events
A well-cared-for banner lasts years. Here’s how to extend its life:
- Clean gently: Wipe with mild soap and water; avoid abrasive scrubbers.
- Store flat or rolled: Never fold sharp creases. Use a tube for rolling to prevent warping.
- Check grommets and hems: Repair loose stitches or damaged grommets before your next use.
- Avoid direct sunlight when not in use: UV exposure fades colors over time.
Real-World Examples: What Others Are Doing Right
Let’s look at how real businesses optimize their 10×10 tent banners:
- Coffee Cart Co.: Uses a 10×8 vinyl banner with bold green lettering, their logo in the center, and a QR code linking to online orders. The matte finish reduces glare under midday sun.
- Tech Startup Booth: Installs a double-sided 10×16 polyester flag that rotates between two messages—product demo on front, contact info on back. Lightweight and wind-friendly.
- Local Craft Fair Vendor: Chooses a custom 10×9 canvas wrap with embroidered details. While expensive, it attracts attention for its tactile quality and artisanal vibe.
Conclusion: Make Every Square Foot Count
So, what size banner for 10×10 tent gives you the best return? Stick with 10 feet wide by 8 feet tall for a balanced, professional look. Pair it with high-quality materials, smart design, and secure installation, and you’ve got a powerful marketing tool that works day after day.
Remember: your banner isn’t just about aesthetics—it’s about communication. Whether you’re selling products, sharing ideas, or building community, a well-chosen banner turns heads and drives engagement. Take the time to plan, measure, and execute, and your next event will stand out for all the right reasons.
Frequently Asked Questions
Can I use a 10×10 tent banner indoors?
Yes, absolutely! Indoor banners work best in spaces like convention centers or retail pop-ups. Just ensure proper lighting so your graphics remain visible. Vinyl banners are ideal due to their smooth surface and vibrant print retention.
Do I need special tools to hang my banner?
Not necessarily. Most banners come with basic hardware like tension rods or grommet sets. For extra security, consider purchasing bungee cords, sandbags, or zip ties depending on your environment.
How far should my banner be readable from?
Ideally, your key text should be readable from at least 20–30 feet away. Test this by printing a sample and holding it up during daylight hours. Adjust font size accordingly.
Are digital prints better than screen prints?
Digital printing offers superior color accuracy and photo-realistic images, making it perfect for detailed logos or gradients. Screen printing is more durable for text-heavy designs but lacks photographic detail.
How do I prevent my banner from blowing away?
Use weighted anchors like sandbags at each corner, install wind flaps or support poles, or choose lighter-weight materials in extremely windy areas. Always check local weather forecasts before setup.
Can I reuse my banner for different tents?
Yes! As long as your banner is in good condition and compatible with various tent models, it can be reused indefinitely. Store it flat or rolled in a protective case to preserve quality.