
Properly handling your tent after camping is essential for longevity and performance. Cleaning, drying, and storing your gear correctly prevents mold, mildew, and damage. Whether you’re a weekend warrior or a full-time camper, these simple steps will keep your shelter ready for the next adventure.
You just wrapped up an amazing camping trip—stars overhead, crackling fire, maybe even a few late-night stories. But as the sun rises on your last morning, reality sets in: your tent is covered in dirt, maybe soaked from dew, and definitely not in its bag. Now comes the part no one talks about: what to do with your tent after camping?
It’s tempting to rush back home, toss everything in the trunk, and call it a day. But doing so can seriously shorten your tent’s lifespan. Moisture, grime, and improper storage are the enemies of outdoor gear. The good news? With a few simple steps, you can keep your shelter in tip-top shape—ready for the next adventure, whether that’s a weekend at the lake or a month-long trek through the Rockies.
In this guide, we’ll walk you through exactly what to do with your tent after camping. From cleaning and inspecting to proper storage and maintenance, we’ve got you covered. Let’s get started.
Key Takeaways
- Always clean your tent before storage: Dirt, moisture, and food residue attract mold and weaken fabric.
- Dry completely before folding: Never store a damp tent—it leads to mildew and musty smells.
- Use breathable storage bags: Plastic bins trap moisture; opt for mesh or cotton sacks instead.
- Store in a cool, dry place: Avoid attics, basements, or garages where humidity and temperature fluctuate.
- Inspect regularly: Check for tears, loose seams, or UV damage during off-seasons.
- Repair small issues promptly: A tiny hole can grow into a big problem if ignored.
- Rotate gear seasonally: If you camp year-round, alternate tents to reduce wear and tear.
📑 Table of Contents
1. Clean Your Tent Thoroughly
The first rule of post-camping care? Clean your tent before storing it. Dirt, sand, food crumbs, and body oils don’t just look bad—they break down the fabric over time and create a breeding ground for mold and mildew.
Start by brushing off any loose debris. Use a soft-bristle brush or even a dry towel to wipe down the rainfly and tent body. Pay special attention to corners, zippers, and seams where dirt tends to accumulate.
Check the latest prices and available rooms before they sell out.
Next, use a mild soap—like Fels-Naptha or a gentle dish soap—and lukewarm water. Avoid harsh detergents or bleach, which can damage waterproof coatings. Gently scrub the fabric, but don’t soak it. Over-wetting weakens the material and delays drying.
For stubborn stains—think grease spots or mud caked into the floor—use a soft sponge and a bit more elbow grease. Rinse thoroughly with clean water to remove all soap residue. Soap left behind can attract dirt later and degrade the fabric.
Pro Tip:
Never machine wash or tumble dry your tent. Even gentle cycles can shred the seams and warp the shape. Hand-washing and air-drying are always the safest options.
2. Dry Completely Before Storage
This step is non-negotiable. Storing a damp tent is like inviting mold to move in. Even if it looks dry, moisture trapped inside can cause mildew within 48 hours.
After cleaning, hang your tent in a well-ventilated area—ideally outside on a clothesline or under a shaded porch. Avoid direct sunlight for extended periods, as UV rays can weaken the fabric. Instead, let it air-dry naturally.
Check the seams and zippers carefully. These areas hold the most moisture. If you have a seam sealer, now’s a good time to inspect and reapply if needed.
If you’re short on time and it’s humid or rainy, consider using a fan or dehumidifier inside your garage or shed. Just make sure there’s airflow—no enclosed plastic bins with fans!
Find the Best Accommodation Deals
Compare prices from multiple booking platforms and find the best option for your stay.
Compare Hotel PricesWarning Signs to Watch For:
- Musty smell when unpacked
- White, powdery residue on the fabric
- Stiff or brittle material
If you notice any of these, your tent wasn’t fully dried. Repeat the drying process before storage.
Find the Best Accommodation Deals
Compare prices from multiple booking platforms and discover the best stay options available.
⭐ Trusted by thousands of travelers
💰 Budget to luxury options available
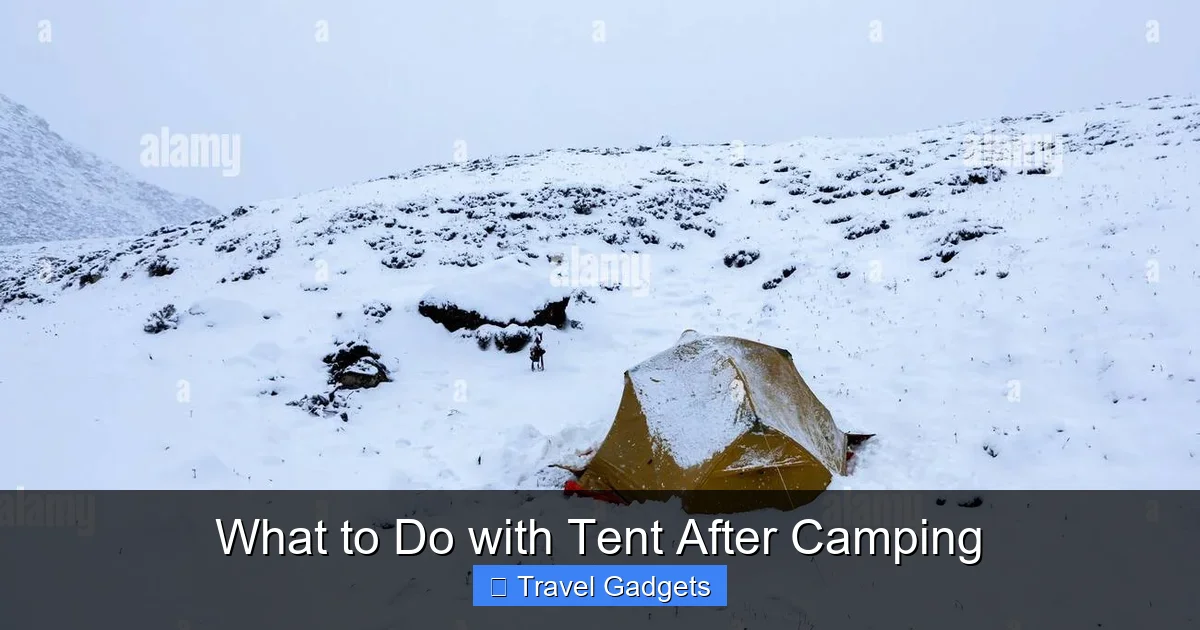
Visual guide about What to Do with Tent After Camping
Image source: c8.alamy.com
3. Inspect for Damage and Repairs
While your tent is still clean and dry, take a close look for damage. This is the perfect time to catch small issues before they become big problems.
Best Stay Deals Available
Compare prices across top booking platforms and find the best deal for your stay.
Check Available RoomsCheck the following areas:
- Zippers: Are they sticking? Do teeth align properly?
- Seams: Cracks or separation? Apply seam tape if needed.
- Tent poles: Bent, cracked, or missing? Replace immediately.
- Floor: Tears or punctures? Patch them with a repair kit.
- Ropes and stakes: Worn or frayed? Swap them out.
Most modern tents come with repair kits—tiny rolls of tape or patches. Use them! Even a small hole can compromise your shelter in a storm.
If you’re not comfortable doing repairs yourself, many outdoor retailers offer professional services. Better yet, learn basic sewing skills—they’re surprisingly useful for outdoor gear maintenance.
DIY Repair Tips:
For small rips, use a strong adhesive like Gear Aid Seam Grip or Tenacious Tape. For larger tears, sew with a heavy-duty thread and a needle. Always test repairs in a discreet area first.

Visual guide about What to Do with Tent After Camping
Image source: thedailycamping.com
4. Choose the Right Storage Solution
Where and how you store your tent makes a huge difference. Most people reach for a duffel bag or plastic bin—but both can be harmful.
Plastic bins trap moisture and prevent airflow. Over time, this leads to mildew and fabric degradation. Similarly, nylon duffel bags can scratch the surface and lack ventilation.
Instead, opt for breathable storage solutions:
- Mesh storage bags: Great for summer storage, allow airflow.
- Cotton or canvas sacks: Ideal for long-term storage—durable and breathable.
- Vacuum storage bags: Only use these for seasonal storage, and only if the tent is 100% dry. Even then, compressed fabric loses its shape and resilience.
Avoid storing your tent in places prone to humidity—like attics, basements, or garages with fluctuating temperatures. A cool, dry closet or spare room is ideal.
Bonus Tip:
Keep your tent away from pets. Litter boxes, laundry piles, or pet beds can expose it to chemicals and odors that linger in the fabric.

Visual guide about What to Do with Tent After Camping
Image source: thedailycamping.com
5. Maintain Regularly During Off-Seasons
Even if your tent isn’t in use, it deserves attention. Set a reminder every 3–6 months to inspect and refresh your gear.
During these checks:
- Wipe down the fabric with a dry cloth
- Reinforce any minor wear spots
- Reapply waterproofing spray if the coating has worn off
- Ensure zippers move smoothly
If you live in a humid climate, consider using silica gel packets in your storage container to absorb excess moisture.
Waterproofing Tips:
Most tents have a DWR (durable water repellent) finish that wears off over time. Reapply a silicone-based spray like Nikwax or ReviveX every 6–12 months to maintain water resistance.
6. Prepare for the Next Trip
When your camping season rolls around again, give your tent a quick once-over before packing it up. This helps you spot new damage early and ensures you’re ready to hit the road.
Unpack slowly—don’t yank it out of the bag like a surprise party. Lay it flat and inspect the entire structure. Make sure poles are intact, stakes are in place, and the floor is free of debris.
If you’ve stored it properly, your tent should feel fresh and ready. But if it smells musty or feels stiff, repeat the cleaning and drying process.
Pre-Trip Checklist:
- ✔ Tent is clean and dry
- ✔ All zippers work smoothly
- ✔ Poles are straight and secure
- ✔ Floor is free of holes
- ✔ Stakes and guylines are in good condition
Conclusion: Your Tent Deserves Better Than the Trunk
Camping is about freedom, nature, and adventure. But those benefits fade fast if your gear falls apart after a few trips. What to do with your tent after camping isn’t just about convenience—it’s about respect for your investment and your future adventures.
By cleaning, drying, inspecting, and storing your tent properly, you’re not just preserving your shelter—you’re ensuring it’ll be there when you need it most. That means fewer surprises, safer nights, and more time enjoying the great outdoors.
So next time you pack up, take five extra minutes. It’s a small effort that pays off big in durability, performance, and peace of mind. Your future self—on that next mountain trail or lakeside campsite—will thank you.
Frequently Asked Questions
Can I store my tent wet?
No. Storing a damp tent leads to mold, mildew, and fabric breakdown. Always ensure your tent is completely dry before packing it away.
How often should I clean my tent?
Clean your tent after every major trip. If you camp frequently, clean it at least twice a year, even if it doesn’t look dirty.
Should I use a vacuum storage bag for my tent?
Only for short-term, dry storage. Vacuum bags compress fabric, reducing its lifespan. For long-term storage, choose breathable bags instead.
What’s the best way to dry a tent?
Hang it in a shaded, well-ventilated area. Avoid direct sunlight and enclosed spaces. Use a fan if needed, but never dry it indoors near heaters.
How do I fix a torn tent floor?
Use a repair kit with patch material and strong adhesive like Gear Aid Seam Grip. For large tears, consider professional repair or replacement.
Can I machine wash my tent?
Absolutely not. Machine washing damages seams, warps the shape, and destroys waterproof coatings. Always hand-wash gently and air-dry.